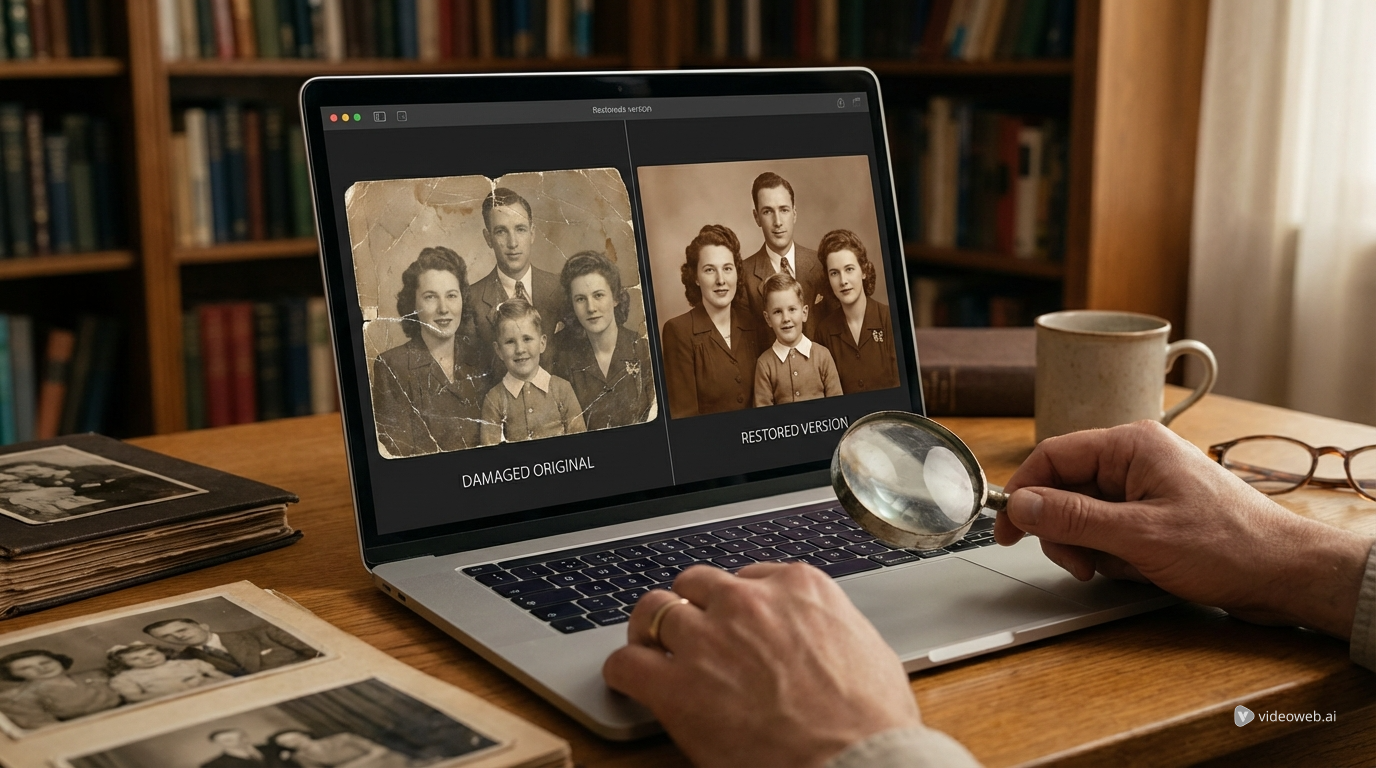
Old photographs carry more than faces and places. They preserve texture, emotion, and the small visual details that help memories feel real. The problem is that time is rarely gentle with printed images. Scratches, folds, faded contrast, color shifts, and stains can gradually erase what made a photo meaningful in the first place. Today, online tools make that process much easier. Instead of learning advanced retouching software, many users now turn to photo restoration tools that can repair common damage in a few clicks.
SeaImagine AI offers a simple browser-based workflow for people who want to repair and refresh old images without dealing with a complicated editing interface. Whether you are working on a scanned family portrait, a damaged album print, or a faded black-and-white keepsake, this guide explains how to use the tool effectively and what settings matter most.
Why AI Old Photo Restoration Is So Useful
Traditional retouching can be slow, technical, and inconsistent for beginners. You may need to manually remove scratches, rebuild missing details, and correct tone or color one area at a time. By contrast, modern tools designed to restore old photos with AI can speed up the process by analyzing image damage and generating a cleaner version automatically.
That does not mean every result should be accepted without review. Good old photo restoration still depends on the quality of the original scan and the user’s judgment. But for common issues such as cracks, faded contrast, dust marks, and surface wear, AI can save a huge amount of time.
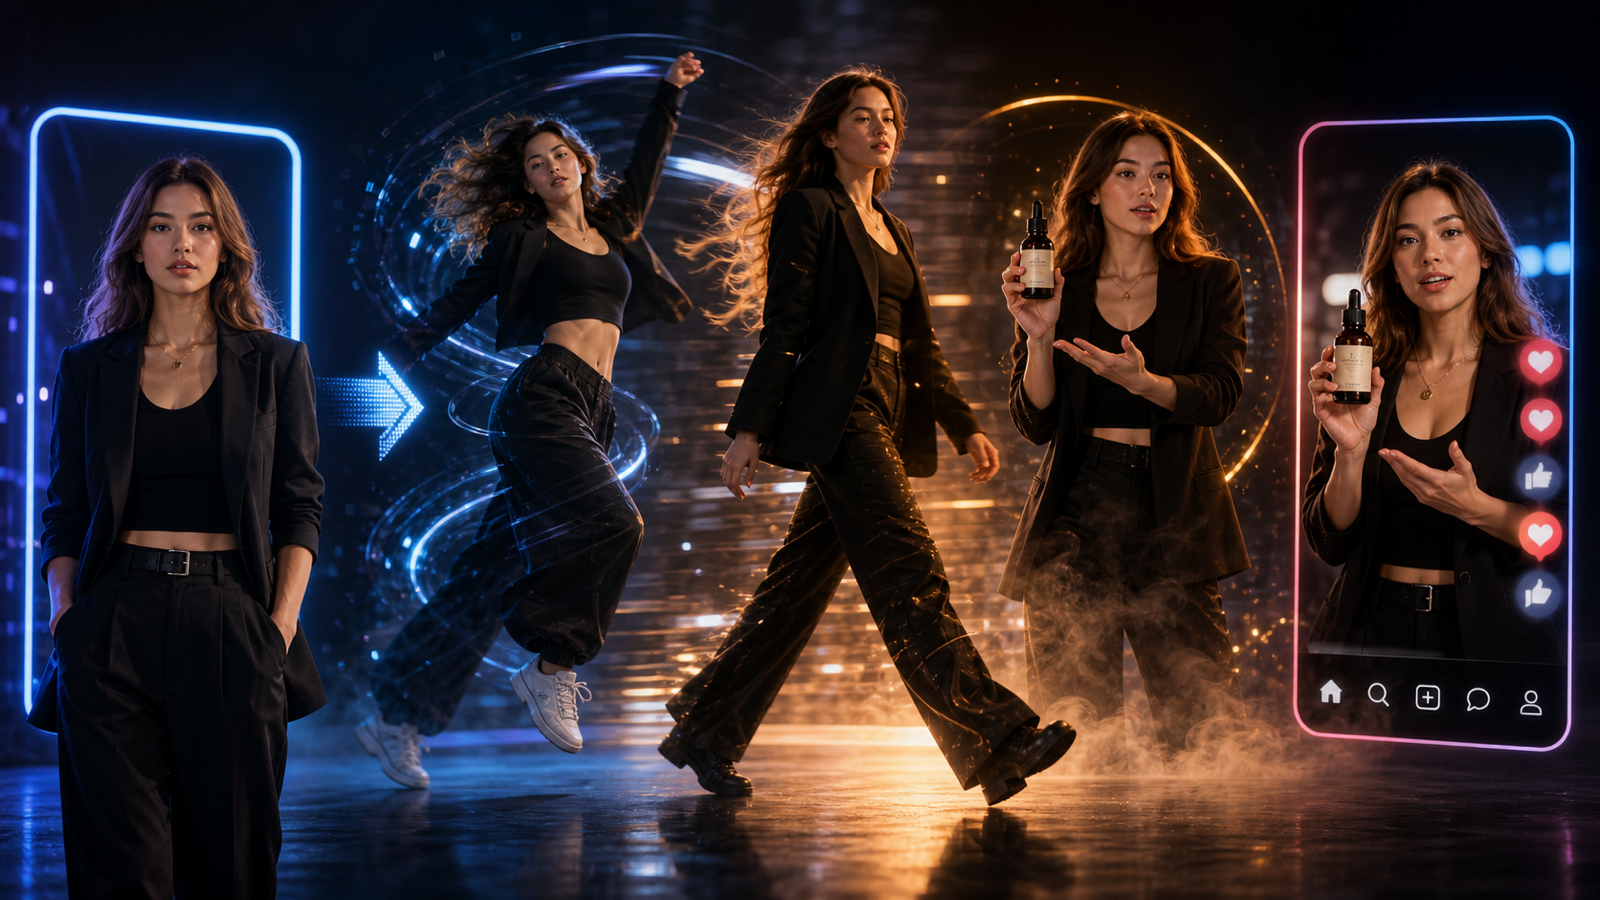
SeaImagine is especially useful for people who want a practical, fast workflow. The tool is designed for users who want to improve sentimental photos for digital archiving, sharing with relatives, or printing again in a cleaner form.
What SeaImagine’s Old Photo Restorer Can Help Fix
SeaImagine’s AI photo restoration page is built for damaged or aging images that need visual cleanup. In practical terms, it works well for photos with visible scratches, loss of detail, blur, fading, and general surface damage. It can also help when you need to restore old damaged photos that have been scanned from albums, envelopes, or old family boxes.
One of the most useful parts of the interface is that it keeps the process simple. You upload an image, enter a prompt, choose a restore type, set the output ratio and resolution, and then generate the result. Users do not need to manage layers or masks.
The two main restore options are also easy to understand. Scratch Restoration focuses on physical wear such as lines, marks, and blemishes. Scratch and Color Restoration goes further by combining repair with a colorization-oriented workflow. That makes the tool flexible enough for both conservative repairs and more dramatic visual refreshes.
Before You Upload: How to Prepare a Better Source Image
The quality of the input image matters more than many users expect. Even the best photo restore AI workflow works best when the original scan is clear and well framed. If possible, scan the photo instead of taking a quick picture under uneven lighting. A proper scan preserves more detail and avoids glare.
Before uploading, crop out large empty borders and remove distracting backgrounds around the print. If the original photo is bent or curled, flatten it carefully before scanning. If you only have a phone photo, try to shoot it in soft, even light and keep the camera parallel to the print.
It is also smart to decide what kind of result you want before you begin. Some users want a faithful repair that keeps the image historically familiar. Others want a cleaner, brighter interpretation. Thinking about this in advance will help you write a better prompt and choose the right restore type.
Step by Step: How to Restore Old Photos on SeaImagine AI
If you are searching for how to restore old photos, this is the most important part of the process.
- Open the tool page. Go to SeaImagine’s Old Photo Restorer and review the interface.
- Upload your image. Drag and drop the file, or click the upload area to select it manually.
- Choose a model. The interface shown uses Seedream 4.5, which is presented for realistic and cohesive image output.
- Enter a prompt. Keep it short and clear. For example: “Remove scratches and stains, preserve facial identity, keep the original look natural.”
- Pick a restore type. Use Scratch Restoration for physical surface damage only. Use Scratch and Color Restoration when the image is faded and you want color enhancement too.
- Set the ratio. Choose the ratio that best matches your source image so the restored version does not crop important details unnecessarily.
- Choose the resolution. A higher setting can be more useful for archiving or printing, while lower settings may be enough for previews and sharing.
- Generate the result. Review the restored image carefully rather than assuming the first output is perfect.
- Regenerate if needed. Slight prompt changes often improve difficult images.
- Download the final version. Save both the restored copy and the original scan for comparison.
This simple workflow is why many people now use AI to restore old photos instead of trying to learn full manual retouching for every damaged print.
Prompt and Setting Tips for Better Results
A short, specific prompt usually performs better than a vague one. If your goal is natural repair, say exactly that. If you want stronger cleanup, mention the damage clearly. For example, useful prompts may include instructions like “repair cracks and dust,” “improve clarity but keep the vintage tone,” or “restore facial detail without changing identity.”
When using a tool built to restore old photo AI workflows, restraint often produces better results than over-directing. Extremely long prompts can push the model too far away from the original image. Start simple, then adjust.
Resolution is another practical choice. If the restored image is mainly for family sharing in chat or social media, you may not need the highest export. But if your goal is printing or long-term storage, a higher-resolution result is more useful.
It is also worth testing both restore modes on borderline cases. A lightly damaged black-and-white portrait may look best with scratch repair only, while a heavily faded print may benefit from the combined repair and color option.
Best Use Cases, Common Mistakes, and Final Review
SeaImagine works especially well for portraits, wedding photos, childhood snapshots, school pictures, memorial images, and old travel prints. In all of these cases, ai photo restore tools can help recover visibility and make copies easier to preserve.
Still, there are a few common mistakes to avoid. First, do not upload extremely poor images and expect full recovery of missing information. AI can infer and enhance, but it cannot always reconstruct what is no longer visible. Second, avoid over-restoring until the picture looks too modern or loses its period character. Good photo restoration should improve legibility while respecting the image’s original mood.
Finally, always compare the restored version with the source. Look closely at faces, hands, clothing patterns, and background objects. These are the places where AI corrections can sometimes look overly smooth or slightly inaccurate. The best workflow is not just to generate once, but to review, refine, and choose the version that feels both cleaner and believable.
Used thoughtfully, SeaImagine offers a fast and accessible way to begin old photo restoration for treasured images. It is especially appealing for users who want better results than basic filters but a simpler experience than professional editing software.
Recommended Other Tools
Related Articles
- How to Use Sea Imagine AI’s Image Generator: A Beginner-Friendly Tutorial
- Nano Banana 2 vs Seedream 5.0: A Practical Comparison Guide
- The Seedream 5.0 AI Image-to-Image Analysis Guide 2026
- SeaImagine AI Text-to-Video Guide: How to Choose Models and Create Better Clips
People Also Read
- How to Turn Vintage Memories into Video with Old Photo Animation
- How to Use an AI Video Generator for Text and Image Workflows
- Bring Still Memories to Life: AI Animate Photo Magic
- Image to Video with Vidu Q1 AI — Turn Still Frames into Cinematic Motion
- How to Use Seedream 4.5 for AI Face Photo Enhancement