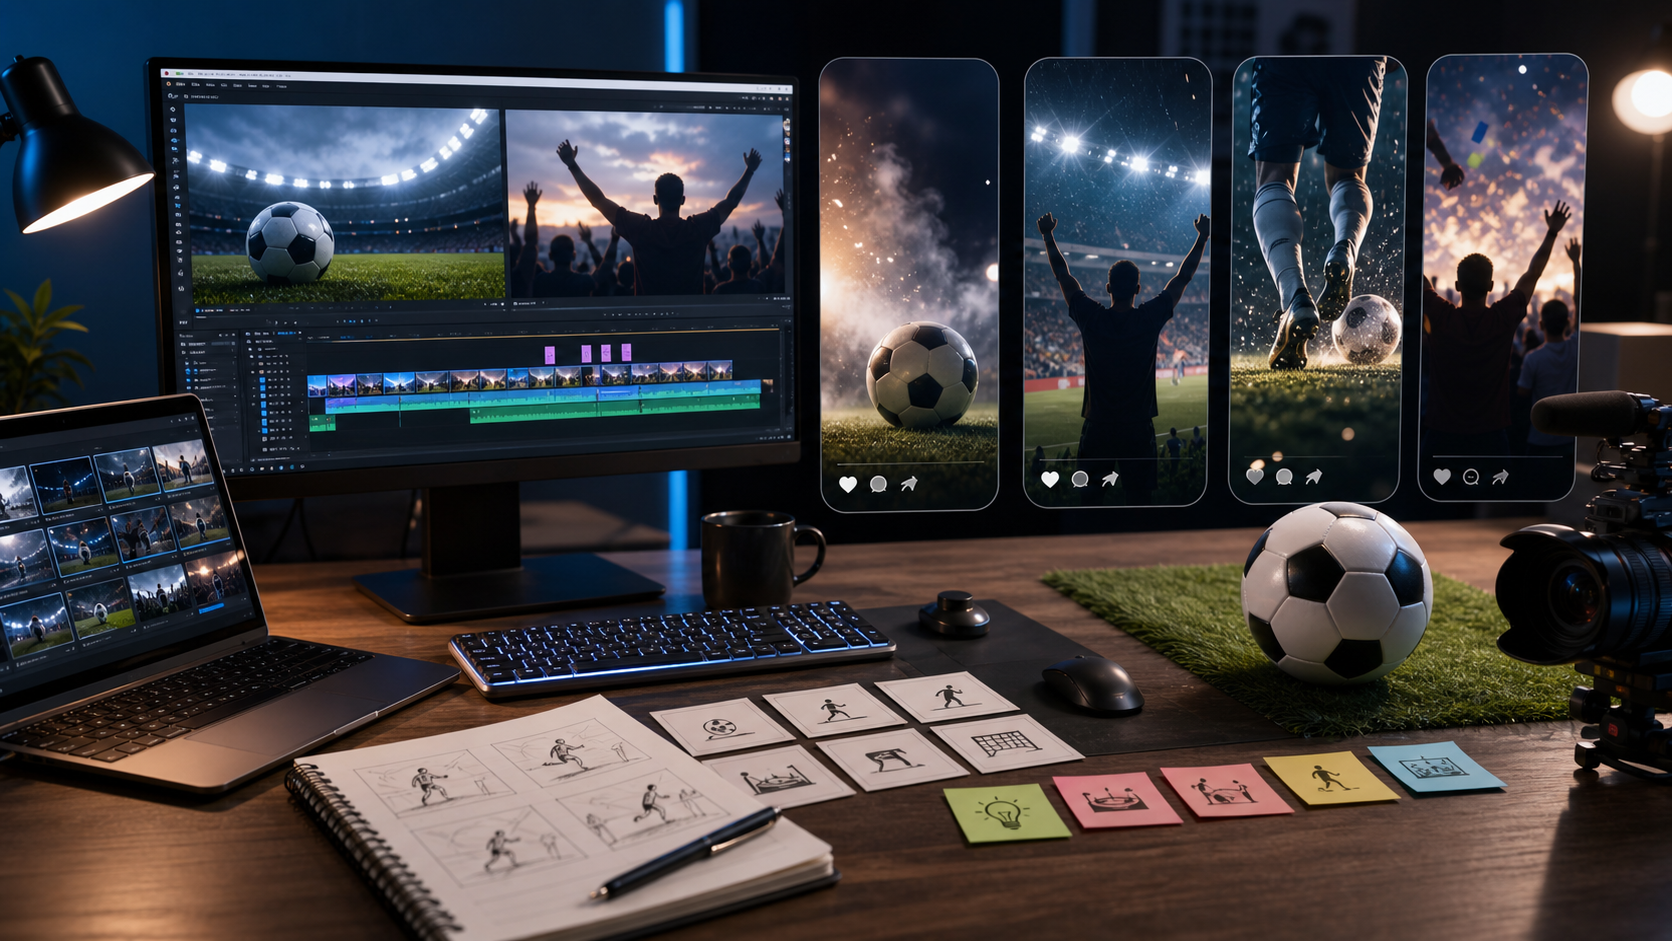
SeaImagine AI is built for people who want to turn prompts into short video clips without bouncing between multiple tools. Its main strength is not just generation speed, but the fact that it gives users access to several video models in one workspace. That makes it useful for beginners who want a simple starting point, and for creators who want to compare realism, motion, mood, audio support, and cost before committing to a final render.
This guide explains how to use SeaImagine AI’s AI text-to-video tool step by step, how to compare the available models, and how to make better prompts without wasting credits. It also covers the platform’s free-credit entry point, so readers can test a free AI text-to-video workflow through daily check-in credits before scaling up.
Why SeaImagine AI Is Easy to Start With
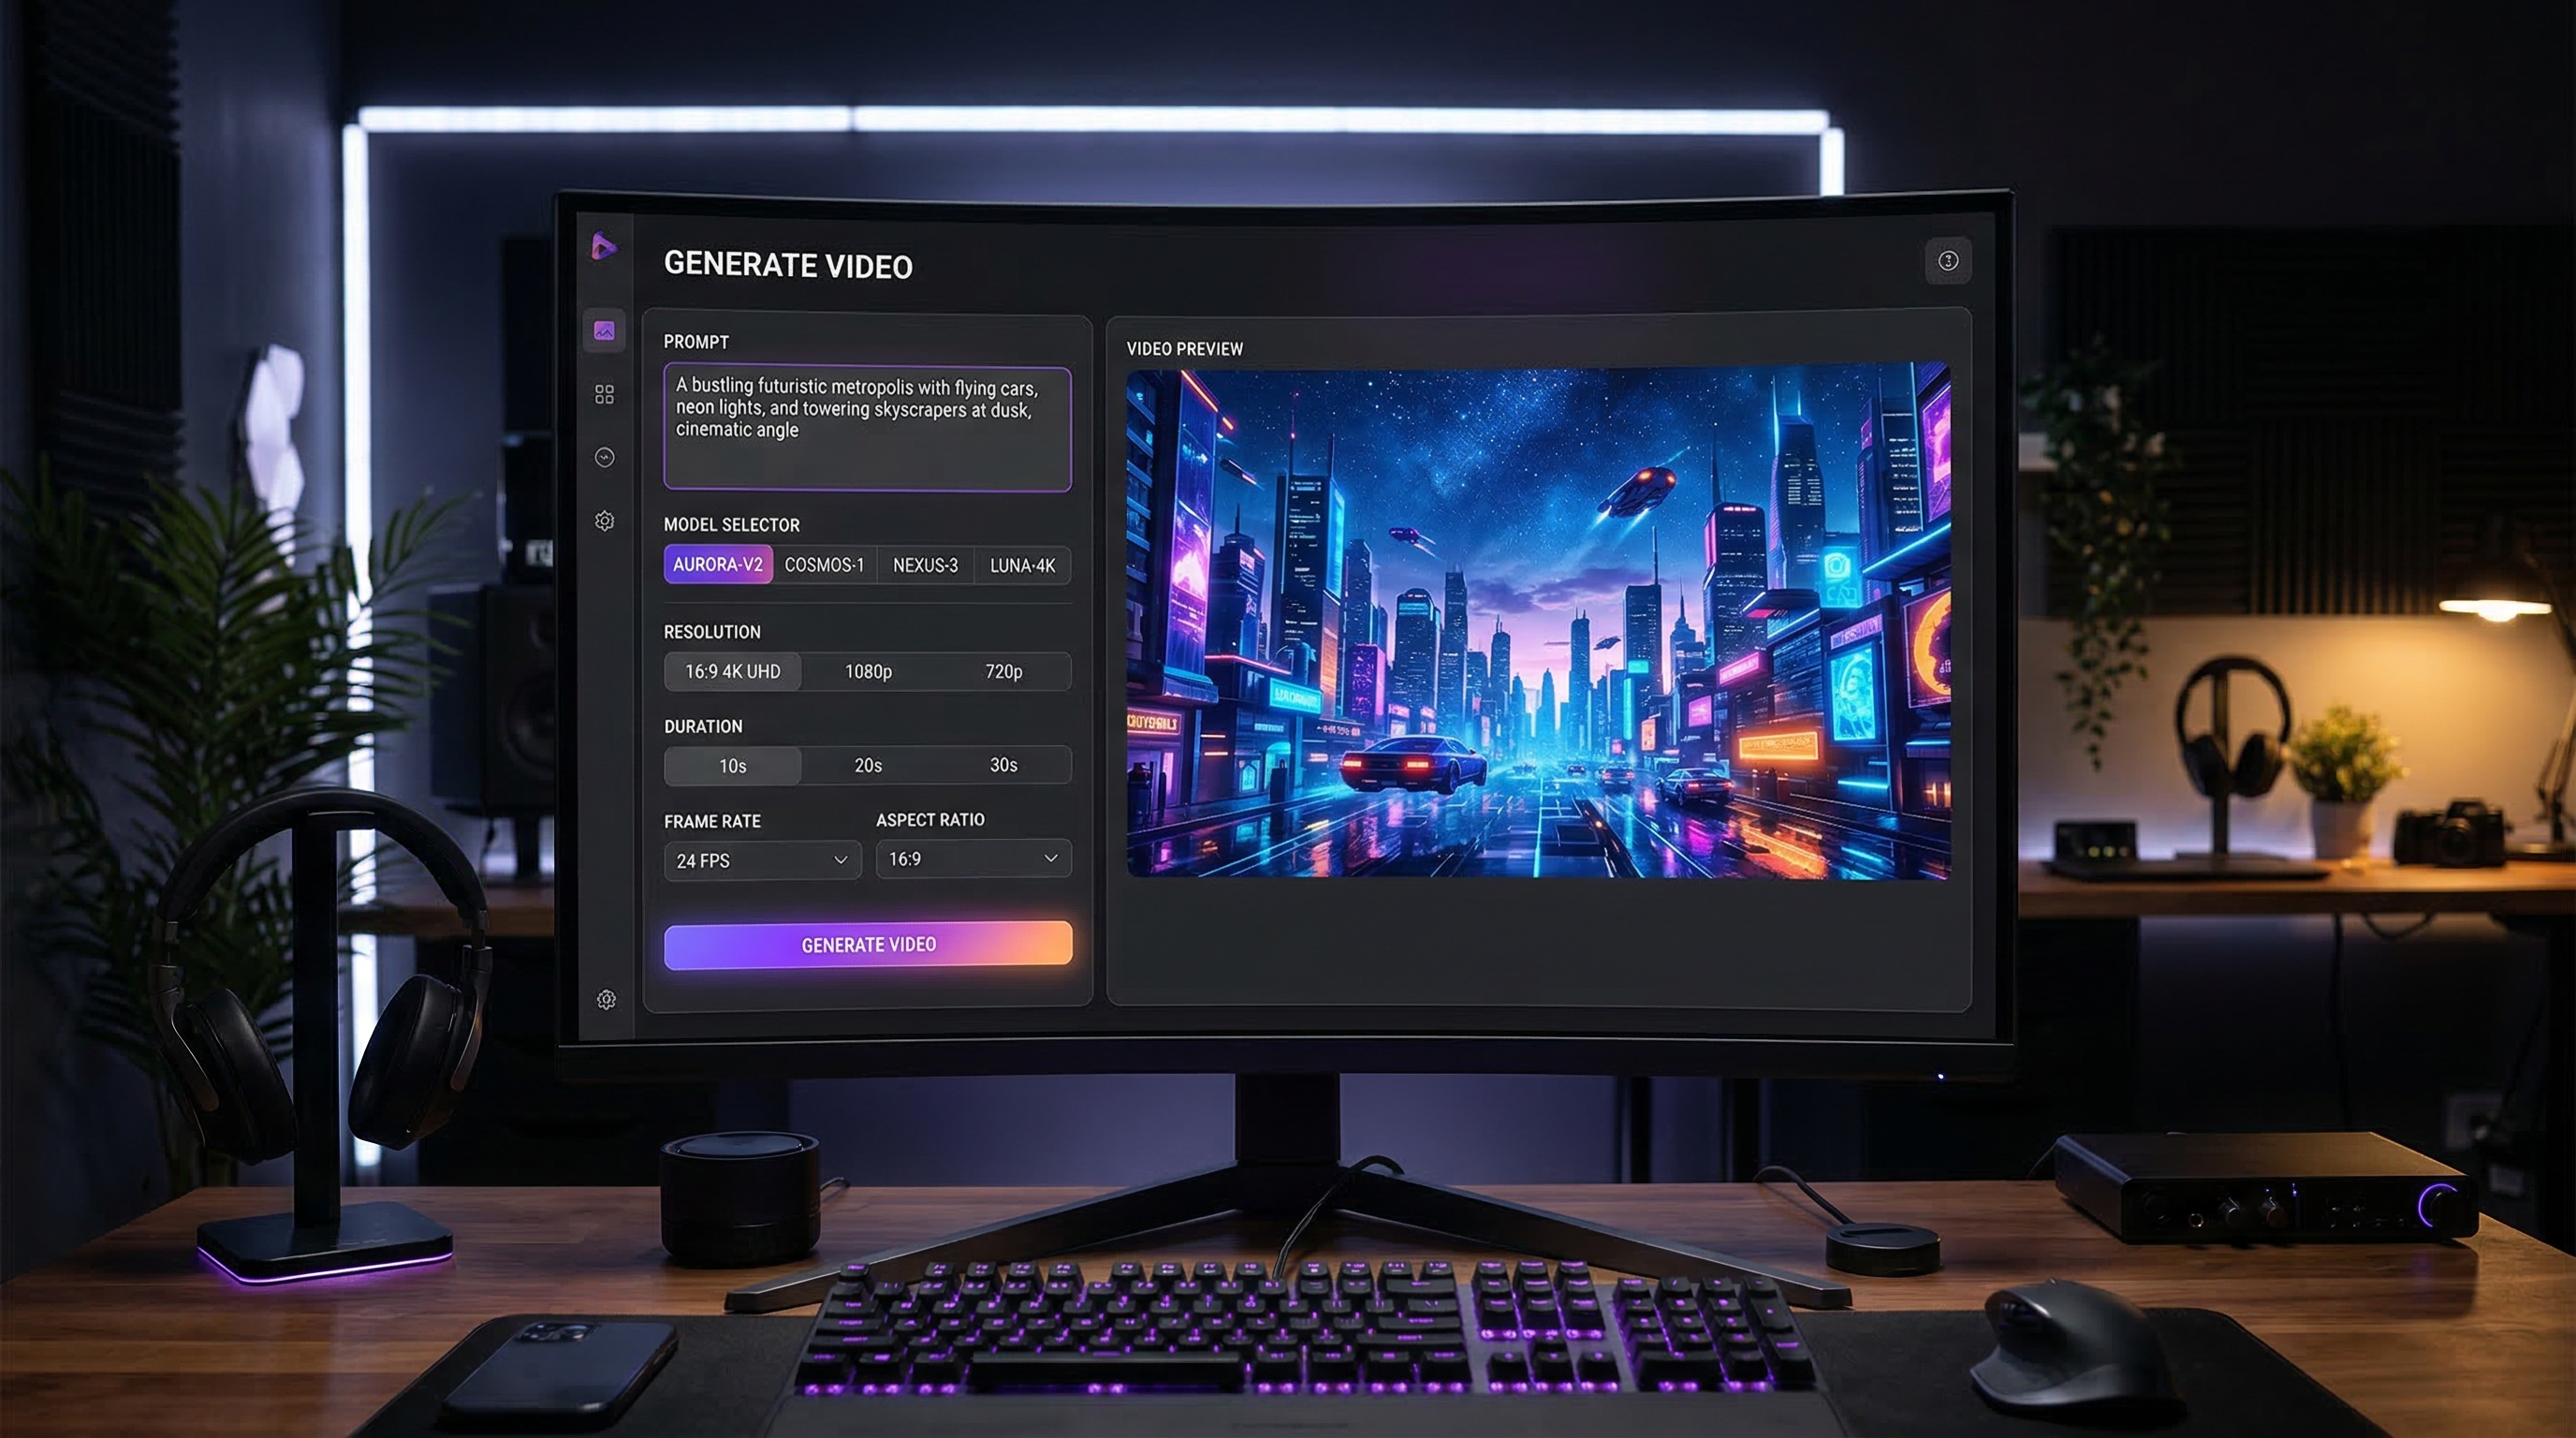
One reason this tool is approachable is that the interface keeps the whole workflow in one place. You choose a model, pick a version if available, write a prompt, set resolution, duration, and aspect ratio, then generate. The preview area and history panel also make it easy to compare outputs instead of starting over every time.
That matters because different creators want different things from an AI video generator. Some want realistic motion for product clips. Some want short cinematic social content. Others want to test story beats, emotional shots, or stylized mood videos. SeaImagine AI works well as a model hub because it lets users match the model to the job rather than force one model into every use case.
It also lowers the barrier to entry. If you are just learning how to turn text into AI video, a free-credit workflow is much less intimidating than a tool that requires a large upfront spend before you can experiment.
What You Can Do with This Text-to-Video AI Generator
At the most basic level, SeaImagine AI lets you create short videos from written prompts. But the real value comes from how much control you have over the generation setup.
You can use the platform to:
- create short narrative or cinematic clips from prompts
- test multiple models in one interface
- adjust duration, ratio, and resolution for different platforms
- optimize prompts when your initial wording is too rough
- compare generations in history before refining further
In practice, that makes the tool useful for ad concepts, social media shorts, brand mood videos, quick storytelling scenes, product demos, and fast visual ideation.
Quick Look at the Interface
Before generating anything, it helps to understand what each control does.
Model
This is the most important choice. Each model has a different character. Some are better at prompt accuracy, some at cinematic mood, some at realistic motion, and some at fast iteration.
Version
Some models offer multiple versions. If a version is available, think of it as a tuning layer within the broader model family.
Prompt Box
This is where you describe the clip you want. The best prompts are not necessarily long. They are clear.
Translate Toggle
This can help if your input language differs from the model’s ideal prompt interpretation flow.
Optimize Prompt
Useful for beginners. If your raw idea is too plain or too vague, this feature can help shape it into something more production-friendly.
Resolution, Duration, and Ratio
These settings should match the job. A short 5-second vertical clip for social content does not need the same setup as a 16:9 cinematic mood shot.
Video History
History is where good iteration happens. Instead of rewriting everything from scratch, review what changed, decide what improved, and refine only the weakest part.
Step-by-Step: How to Use SeaImagine AI
Step 1: Open the Generator and Review the Model List
Go to the text-to-video AI generator page and look through the models first. Do not begin by chasing the most expensive option. Start by understanding what each model is likely to do well.
Step 2: Pick One Model for the First Test
Beginners often make the mistake of changing the model every time. Start with one model, one prompt, and one ratio. That gives you a clean baseline.
Step 3: Set Version, Resolution, Duration, and Ratio
Use simple settings at first. A 5-second clip is usually enough to test whether your prompt logic works. Keep the format aligned with your goal. Use widescreen for cinematic scenes and vertical framing for short-form platforms.
Step 4: Write a Clear Prompt
A strong prompt usually includes:
- subject
- setting
- action
- camera movement
- mood or lighting
A useful structure is:
subject + setting + action + camera + mood
For example: “A woman in a red coat walking through a rainy neon street, the camera slowly tracking beside her, cinematic reflections, moody nighttime atmosphere.”
Step 5: Use Optimize Prompt if Needed
If the prompt feels too vague, optimize it. This is especially helpful when you know the mood you want but are unsure how to describe motion or camera language.
Step 6: Generate the First Draft
Think of the first generation as a test, not a final output. The goal is to see whether the model understood the scene.
Step 7: Review the Output Carefully
Look at:
- motion quality
- subject consistency
- prompt accuracy
- pacing
- camera behavior
- whether the mood matches your intention
Step 8: Refine One Variable at a Time
Do not change the prompt, model, ratio, and duration all at once. If the scene is good but the motion is weak, fix the motion description first. If the mood is right but the framing is wrong, change ratio or camera wording.
How to Write Better AI Text-to-Video Prompts
A good AI text-to-video prompt is short, visual, and actionable. It should describe what the viewer sees happening, not just what the creator imagines emotionally.
Here are a few prompt habits that help:
- focus on one main action
- keep the camera instruction simple
- specify time of day or lighting
- avoid cramming multiple scenes into one short clip
- use mood words that support the visual, not replace it
Here are a few beginner-friendly examples:
Product clip: “A luxury watch on black stone, soft studio light, slow rotating close-up, premium commercial mood.”
Travel clip: “A mountain lake at sunrise, gentle fog moving across the water, slow drone push forward, calm cinematic tone.”
Portrait clip: “A young man standing in falling snow, slight head turn, soft wind moving his coat, cinematic winter lighting.”
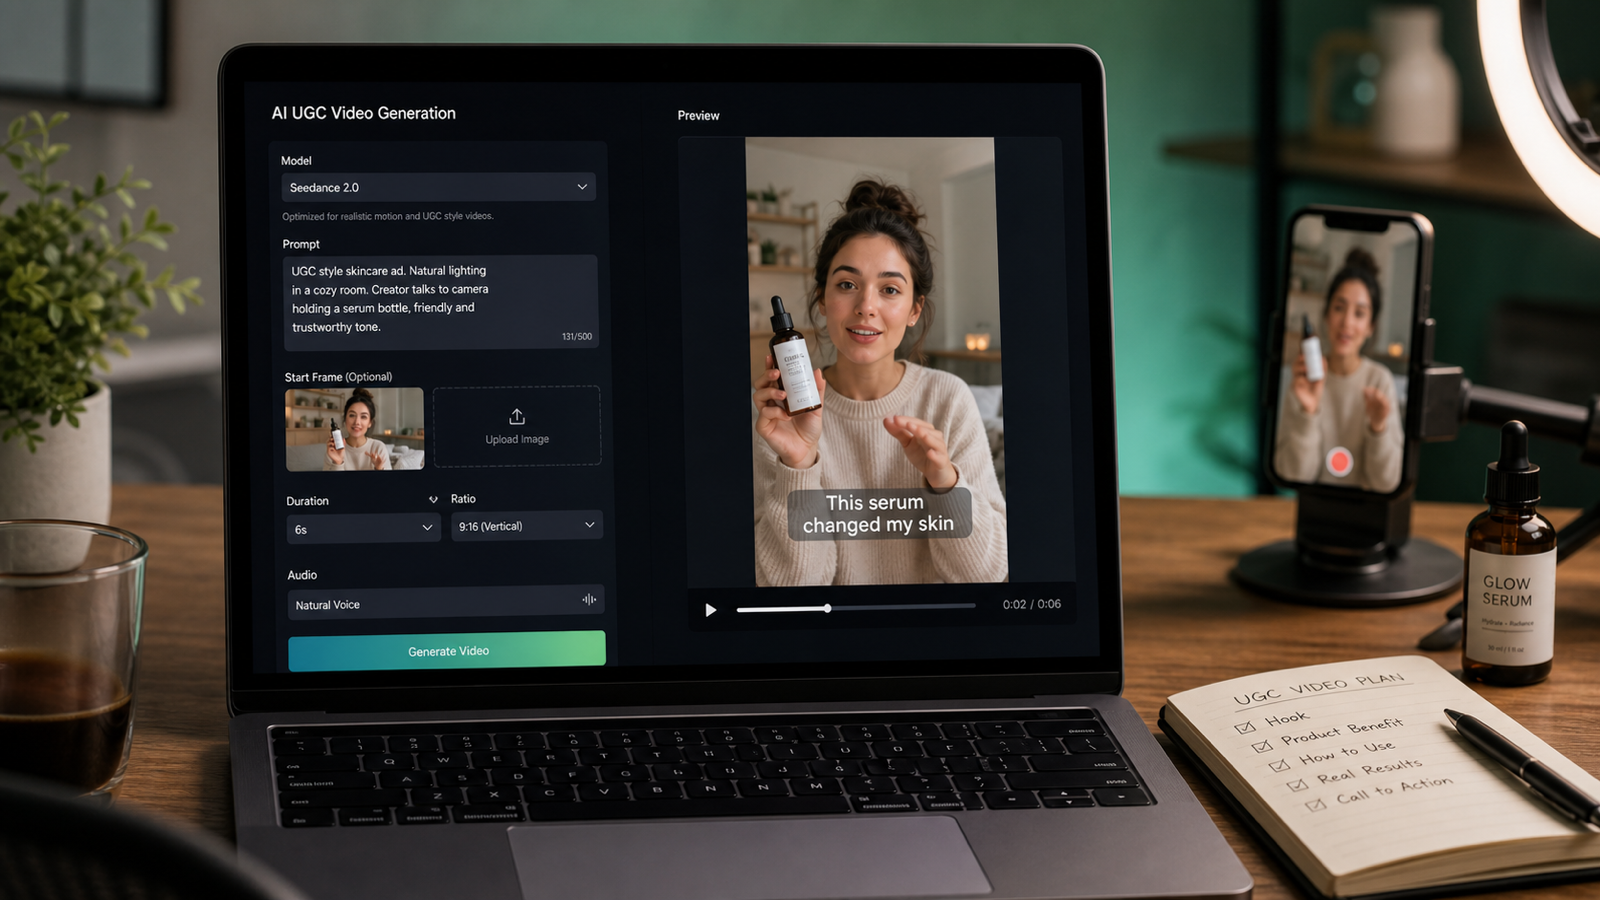
Ad concept: “A skincare bottle on wet glass, subtle water droplets moving, clean bright studio lighting, elegant beauty campaign style.”
If you want to turn text into AI video efficiently, clarity beats poetic excess. The platform can do more with a clean, simple visual instruction than with a paragraph full of conflicting ideas.
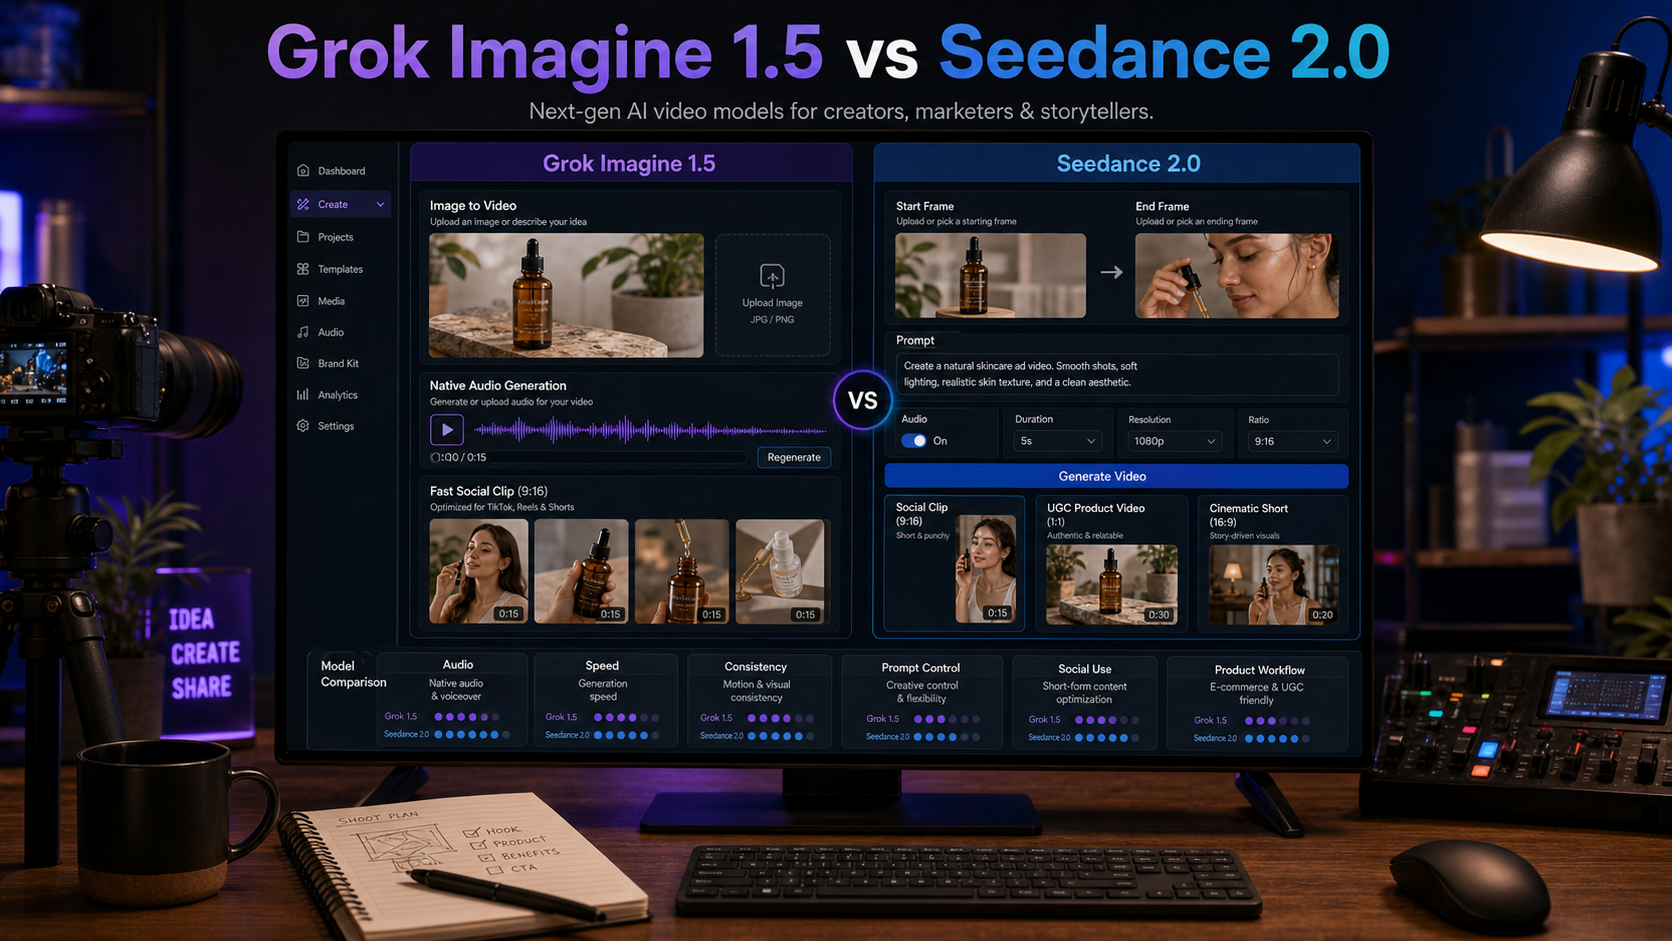
Model Comparison Charts
The best model depends on your goal. Instead of looking for one universal winner, use the charts below to match each model to the right workflow.
Chart 1: SeaImagine Models at a Glance
| Model | Best For | Motion Style | Audio | Main Tradeoff |
|---|---|---|---|---|
| VEO 3.1 | prompt accuracy, native audio | realistic and controlled | yes | higher credit cost |
| Sora 2 Pro | premium storytelling | natural and polished | yes | expensive for early testing |
| Sora 2 | balanced narrative clips | realistic and smooth | yes | less premium than Pro |
| Seedance 1.5 Pro | cohesive shot logic | structured and narrative | yes | less useful for chaotic scenes |
| Kling 2.6 | all-purpose motion | energetic and versatile | yes | may need tighter prompts |
| Pixverse 5.5 | cinematic mood | emotional and stylized | yes | not always the most literal |
| Hailuo 2.3 | complex scenes | dynamic and physics-heavy | no emphasis | can be harder to control |
| Vidu Q2 | short cinematic impact | emotional and punchy | no emphasis | shorter-use feel |
| Grok Imagine | straightforward prompt-to-video | simple and direct | no emphasis | less premium overall feel |
Chart 2: Best Model by Use Case
| Use Case | Best Starting Choice | Why It Fits | Backup Pick |
|---|---|---|---|
| Prompt accuracy for ads | VEO 3.1 | follows prompt details closely | Sora 2 |
| Premium narrative clip | Sora 2 Pro | polished story-like motion | Seedance 1.5 Pro |
| Short emotional scene | Pixverse 5.5 | cinematic mood and feeling | Vidu Q2 |
| Complex action or physics | Hailuo 2.3 | handles dynamic scenes better | Kling 2.6 |
| General-purpose testing | Kling 2.6 | flexible all-rounder | Grok Imagine |
| Cohesive shot progression | Seedance 1.5 Pro | stronger scene continuity | Sora 2 |
| Fast short-form experiment | Grok Imagine | practical for simple tests | Vidu Q2 |
| High-end final export | Sora 2 Pro | premium finish | VEO 3.1 |
Chart 3: Cost-to-Quality Planning
| Stage | Better Choice | Why |
|---|---|---|
| Early testing | Grok Imagine, Kling 2.6, Vidu Q2 | cheaper or more practical for rough ideation |
| Mid-stage refinement | Sora 2, Seedance 1.5 Pro | better balance between cost and polish |
| Final premium output | Sora 2 Pro, VEO 3.1 | best reserved for prompts that already work |
Model-by-Model Breakdown
VEO 3.1 is the best fit when prompt accuracy matters most. If the exact action, sound, or camera instruction matters, this is a strong choice.
Sora 2 Pro is for premium storytelling. It makes more sense for polished final passes than for cheap experimentation.
Sora 2 is the balanced version for users who want realism and narrative feeling without jumping straight to the most expensive tier.
Seedance 1.5 Pro is useful when you want the clip to feel like a coherent shot, not just a moving image.
Kling 2.6 works as a strong all-rounder. It is a good baseline model if you want flexibility.
Pixverse 5.5 is strong for cinematic feeling and emotional atmosphere.
Hailuo 2.3 is a better pick for complex scenes with dynamic motion or heavier physics.
Vidu Q2 is useful for short, striking clips that need emotional punch.
Grok Imagine is practical for simple prompt-to-video tests and quick drafts.
Best Beginner Workflow
If you are new, use this order:
- Start with a simple 5-second idea.
- Choose one model only.
- Write one clear action.
- Keep the camera simple.
- Review the first output.
- Change only one variable.
- Move to a premium model only after the concept works.
This approach helps you learn faster and makes a free AI text-to-video workflow much more efficient.
Common Mistakes to Avoid
The biggest mistake is trying to tell a whole movie in one prompt. These tools work best with one short scene.
Another common mistake is using premium models too early. If the concept is still unstable, test it on a more practical model first.
A third mistake is confusing “cinematic” with “realistic.” Some models are better at mood, while others are better at literal prompt-following.
Finally, do not compare models unfairly. Use the same base prompt first, then compare the results.
Final Thoughts
SeaImagine AI works best when you treat it as a model-selection workspace, not just a single AI video generator. Use practical models for ideation, mid-tier models for refinement, and premium models for final outputs. That makes the whole process cheaper, faster, and easier to control.
For most users, the best path is simple: start with one scene, one model, one short duration, and one clear prompt. Once the concept works, refine it carefully and only then move into more expensive generations. That is the easiest way to get better results from SeaImagine AI’s text-to-video AI generator.
Related Articles
- The 2026 Image-to-Video Guide for Sea Imagine AI: Best Models & Prompts
- Kling 3.0 Review: Is It the Best AI Video Generator Yet in 2026?
- SeaArt AI Video Generation: An Unbiased, Objective Review
- How to Use Sea Imagine AI’s Image Generator: A Beginner-Friendly Tutorial
People Also Read
- Flux AI Video Generator Guide for 2026: Best Models Compared & Ranked
- Try Veo 3.1 in Dream Machine AI: A Practical Guide to Text-to-Video and Image-to-Video Creation
- How to Generate AI Videos with WAN Models on FluxProWeb (Step-by-Step Tutorial)
- PixVerse 5.5 AI Video Generator: The Complete Guide for Creators, Brands & Filmmakers
- Seedance 2.0 Video Generation Guide (Tutorial + Prompts)