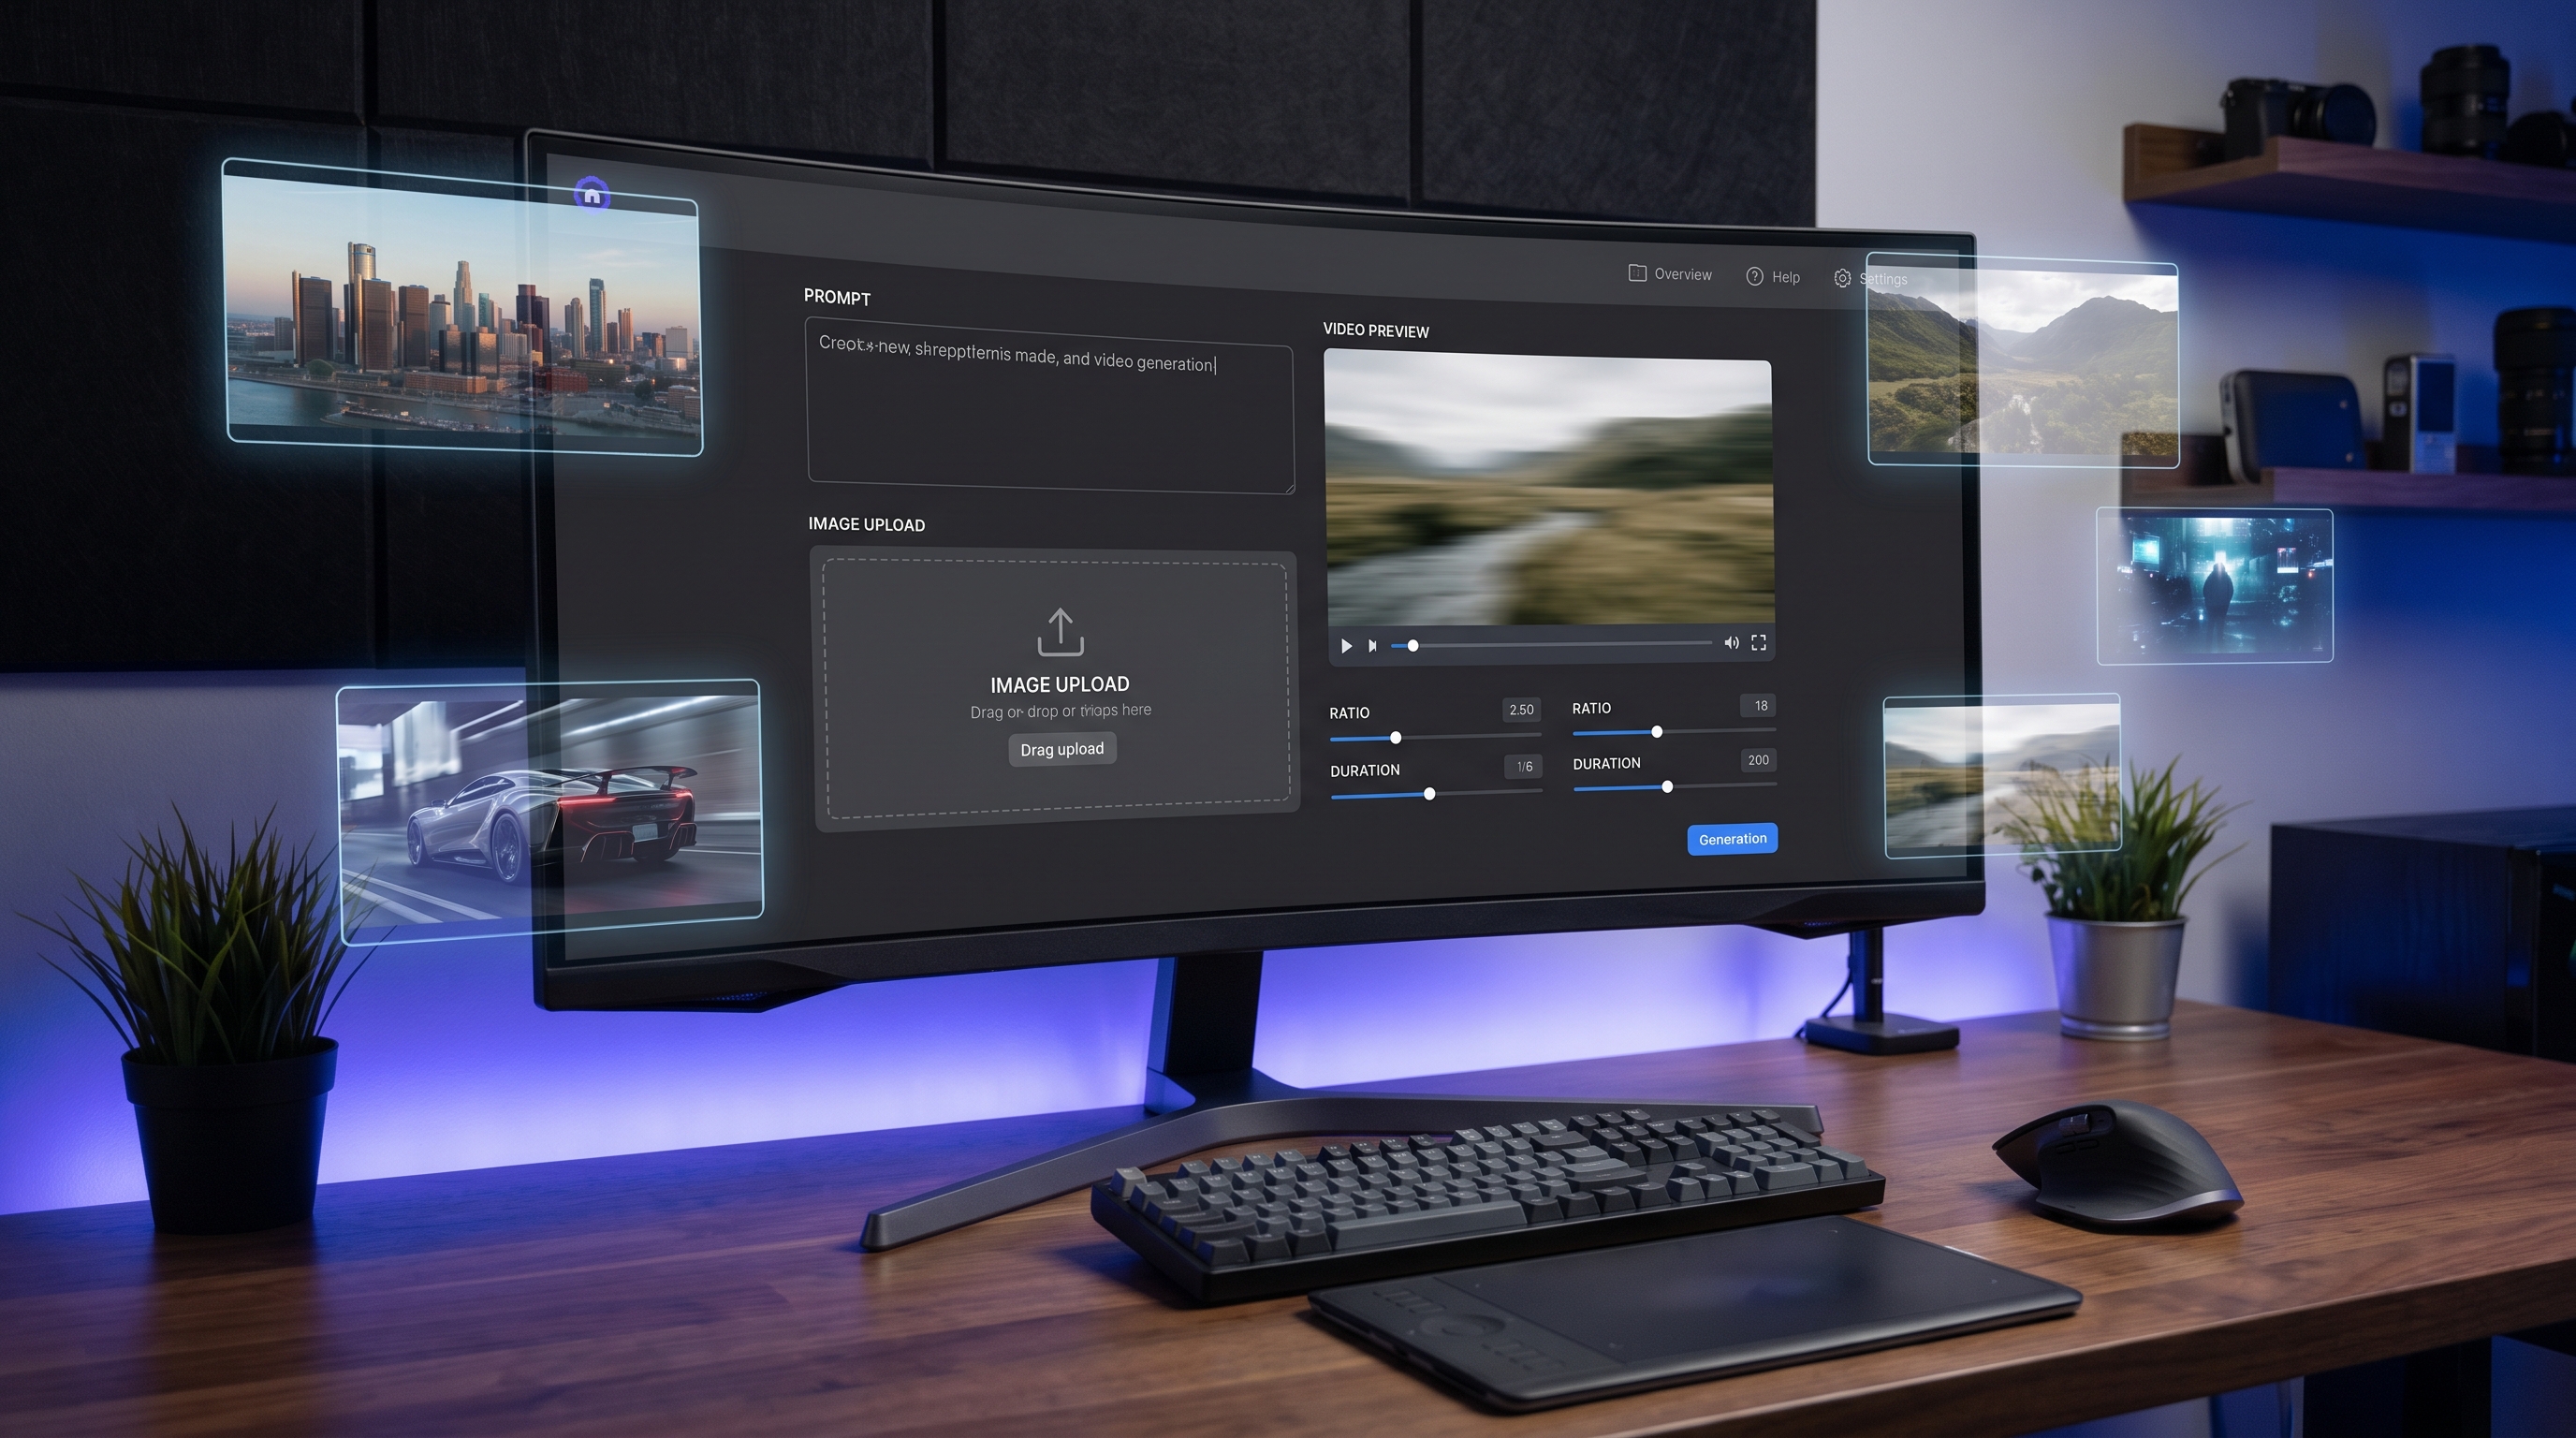
The Grok Imagine AI Video Model on SeaImagine AI gives beginners a direct way to create short AI videos from either a written prompt or an uploaded start frame. This guide walks through the visible workflow: choose text-to-video or image-to-video, write a stronger prompt, adjust the output settings, generate the clip, and review the result in Video History.

Quick Summary
Use Grok Imagine when you want a practical AI video generator workflow without switching between separate tools. Upload a start frame if you already have a visual direction, or use AI Generation when you want to create videos from text prompts only.
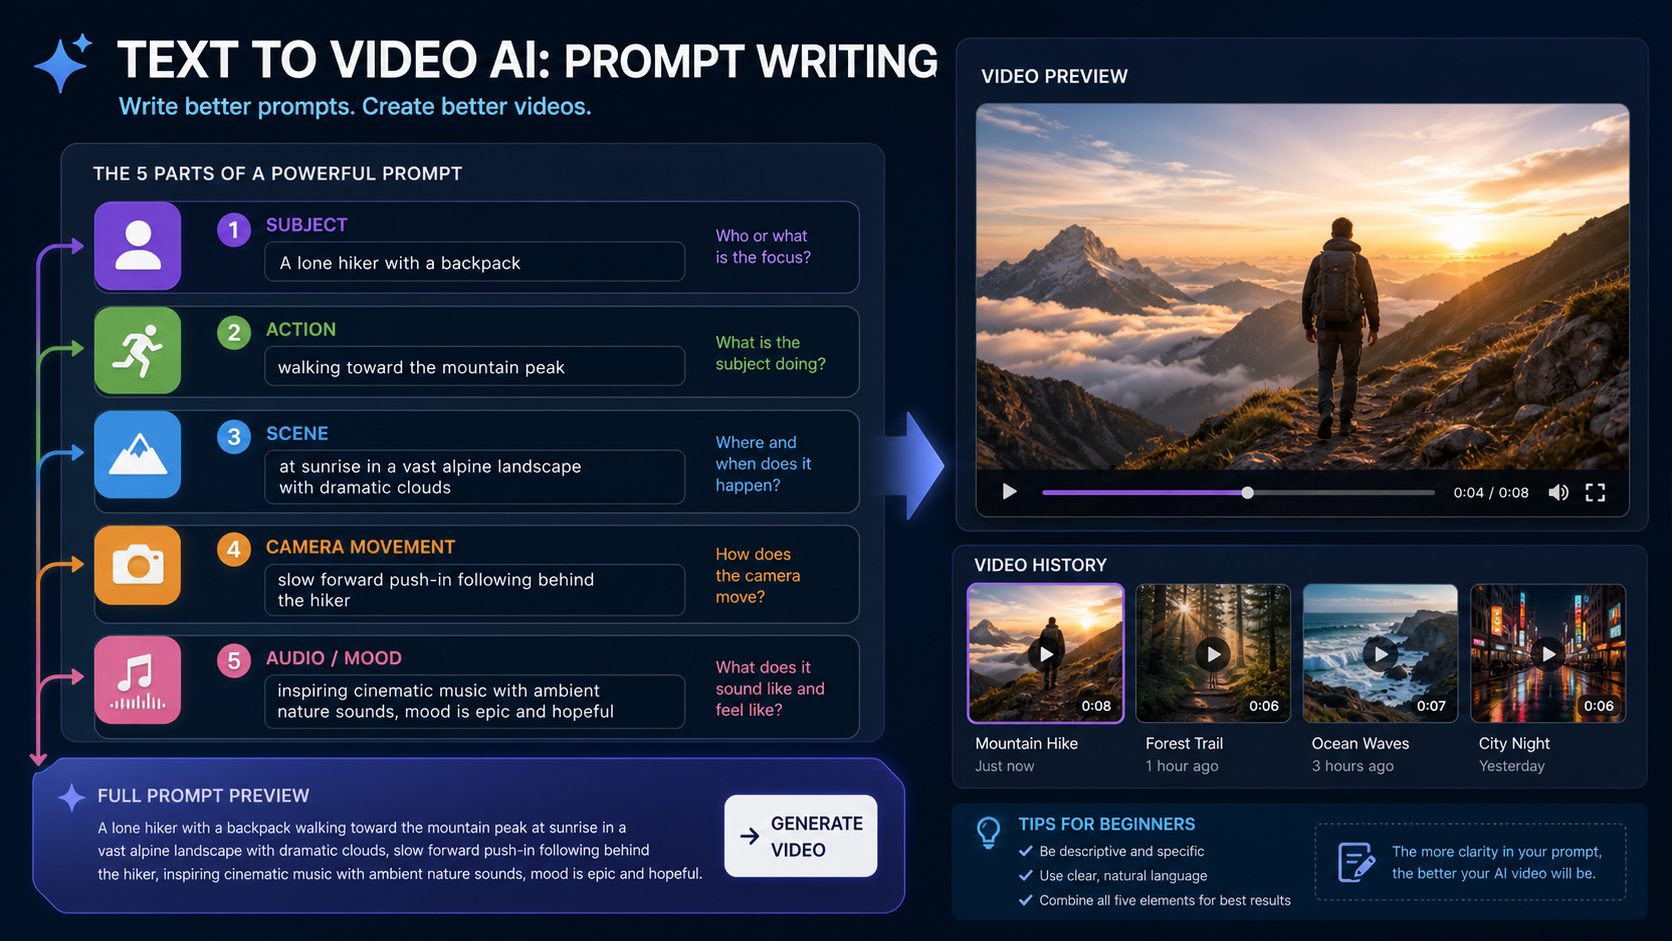
For best results, describe the subject, action, scene, camera movement, and audio or mood in one clear prompt. Then use Translate or Optimize Prompt when your idea needs language cleanup or more detail before generation.
What the Grok Imagine AI Video Model Is Best For
The Grok Imagine AI Video Model is best suited for short video experiments where speed and prompt clarity matter. It supports a beginner-friendly workflow for text-to-video and image-to-video clips, so you can start from a prompt, a reference frame, or a visual you created elsewhere.
In practical terms, use it when you need concept clips, social media shots, product mood videos, character motion tests, or quick creative variations. If you already have a strong static image, the image-to-video path gives the model a clearer visual starting point. If you only have an idea, the prompt-only path is faster.
SeaImagine AI also gives you related tools for different stages of the same workflow. You can use the AI Image Generator to make a first frame, refine source visuals with Image to Image, animate static visuals with Image to Video AI, or create prompt-only clips with Text to Video AI.
Before You Start: Prepare a Prompt or a Start Frame
Start by deciding whether your clip should be controlled by an uploaded image or by text only. This choice affects how much visual detail you need to include in the prompt.
For image-to-video, prepare a clean start frame. A strong start frame should show the main subject clearly, avoid confusing background clutter, and already match the style you want in the final video. If the image needs cleanup first, use an Image to Image workflow to refine the composition before animation.
For text-to-video, prepare a compact but specific prompt. A weak prompt like "a car in the city" gives the model too little direction. A stronger prompt says what the car is doing, where the scene happens, how the camera moves, and what mood the clip should have.
Example prompt:
A silver electric sports car drives through a rainy neon city at night, water spraying from the tires, low tracking shot, smooth cinematic camera movement, moody electronic atmosphere, realistic reflections.
This kind of prompt helps a beginner AI video generator workflow because each phrase gives the model a useful instruction.

Step-by-Step: How to Use Grok Imagine AI Video Model
Follow this workflow when you open the Grok Imagine page and want to generate a short clip.
- Open the Grok Imagine AI Video Model page on SeaImagine AI.
- Choose your creation path. Upload a Start Frame if you want image-to-video, or use AI Generation if you want prompt-based creation.
- Enter your prompt in the Prompt field. Describe the subject, action, scene, camera movement, and audio or mood.
- Use Translate if your idea is easier to write in another language. This helps convert the prompt into a clearer generation instruction.
- Use Optimize Prompt if your prompt feels too short, vague, or unstructured. It can help expand a rough idea into a more usable video prompt.
- Choose the Resolution based on where the clip will be used. Higher resolution is useful for presentation and publishing, while smaller outputs may be enough for quick testing.
- Choose the Duration. Shorter clips are usually better for testing motion, while longer clips need a prompt with clearer pacing and action.
- Choose the Ratio. Match vertical, square, or wide formats to the target platform before you generate.
- Set Public or Private visibility. Use Private for drafts, client work, brand concepts, or any source visual you do not want publicly visible.
- Click Generate and wait for the result.
- Review the finished clip in Video History. Compare the output against your prompt and decide whether to regenerate, revise, or move to another SeaImagine AI tool.
This process is the core Grok Imagine AI video generator tutorial: give the model a clear input, choose settings that match the destination, and use Video History to evaluate the result.
Prompt Tips for Text-to-Video and Image-to-Video
A good prompt should tell the model what changes over time, not just what appears in the frame. Video generation depends on motion, pacing, and continuity, so action words are more useful than static descriptions alone.
Use this simple structure:
Subject + action + scene + camera movement + style/mood + audio direction
For a text to video AI prompt guide, that structure keeps the prompt readable while covering the details that affect the clip. For example:
A young chef tosses fresh pasta in a small open kitchen, steam rising from the pan, warm restaurant lighting, slow push-in camera movement, cozy documentary mood, soft kitchen ambience.
For image to video AI with start frame, keep the prompt focused on motion. The uploaded image already defines the subject and composition, so the prompt can describe what should animate:
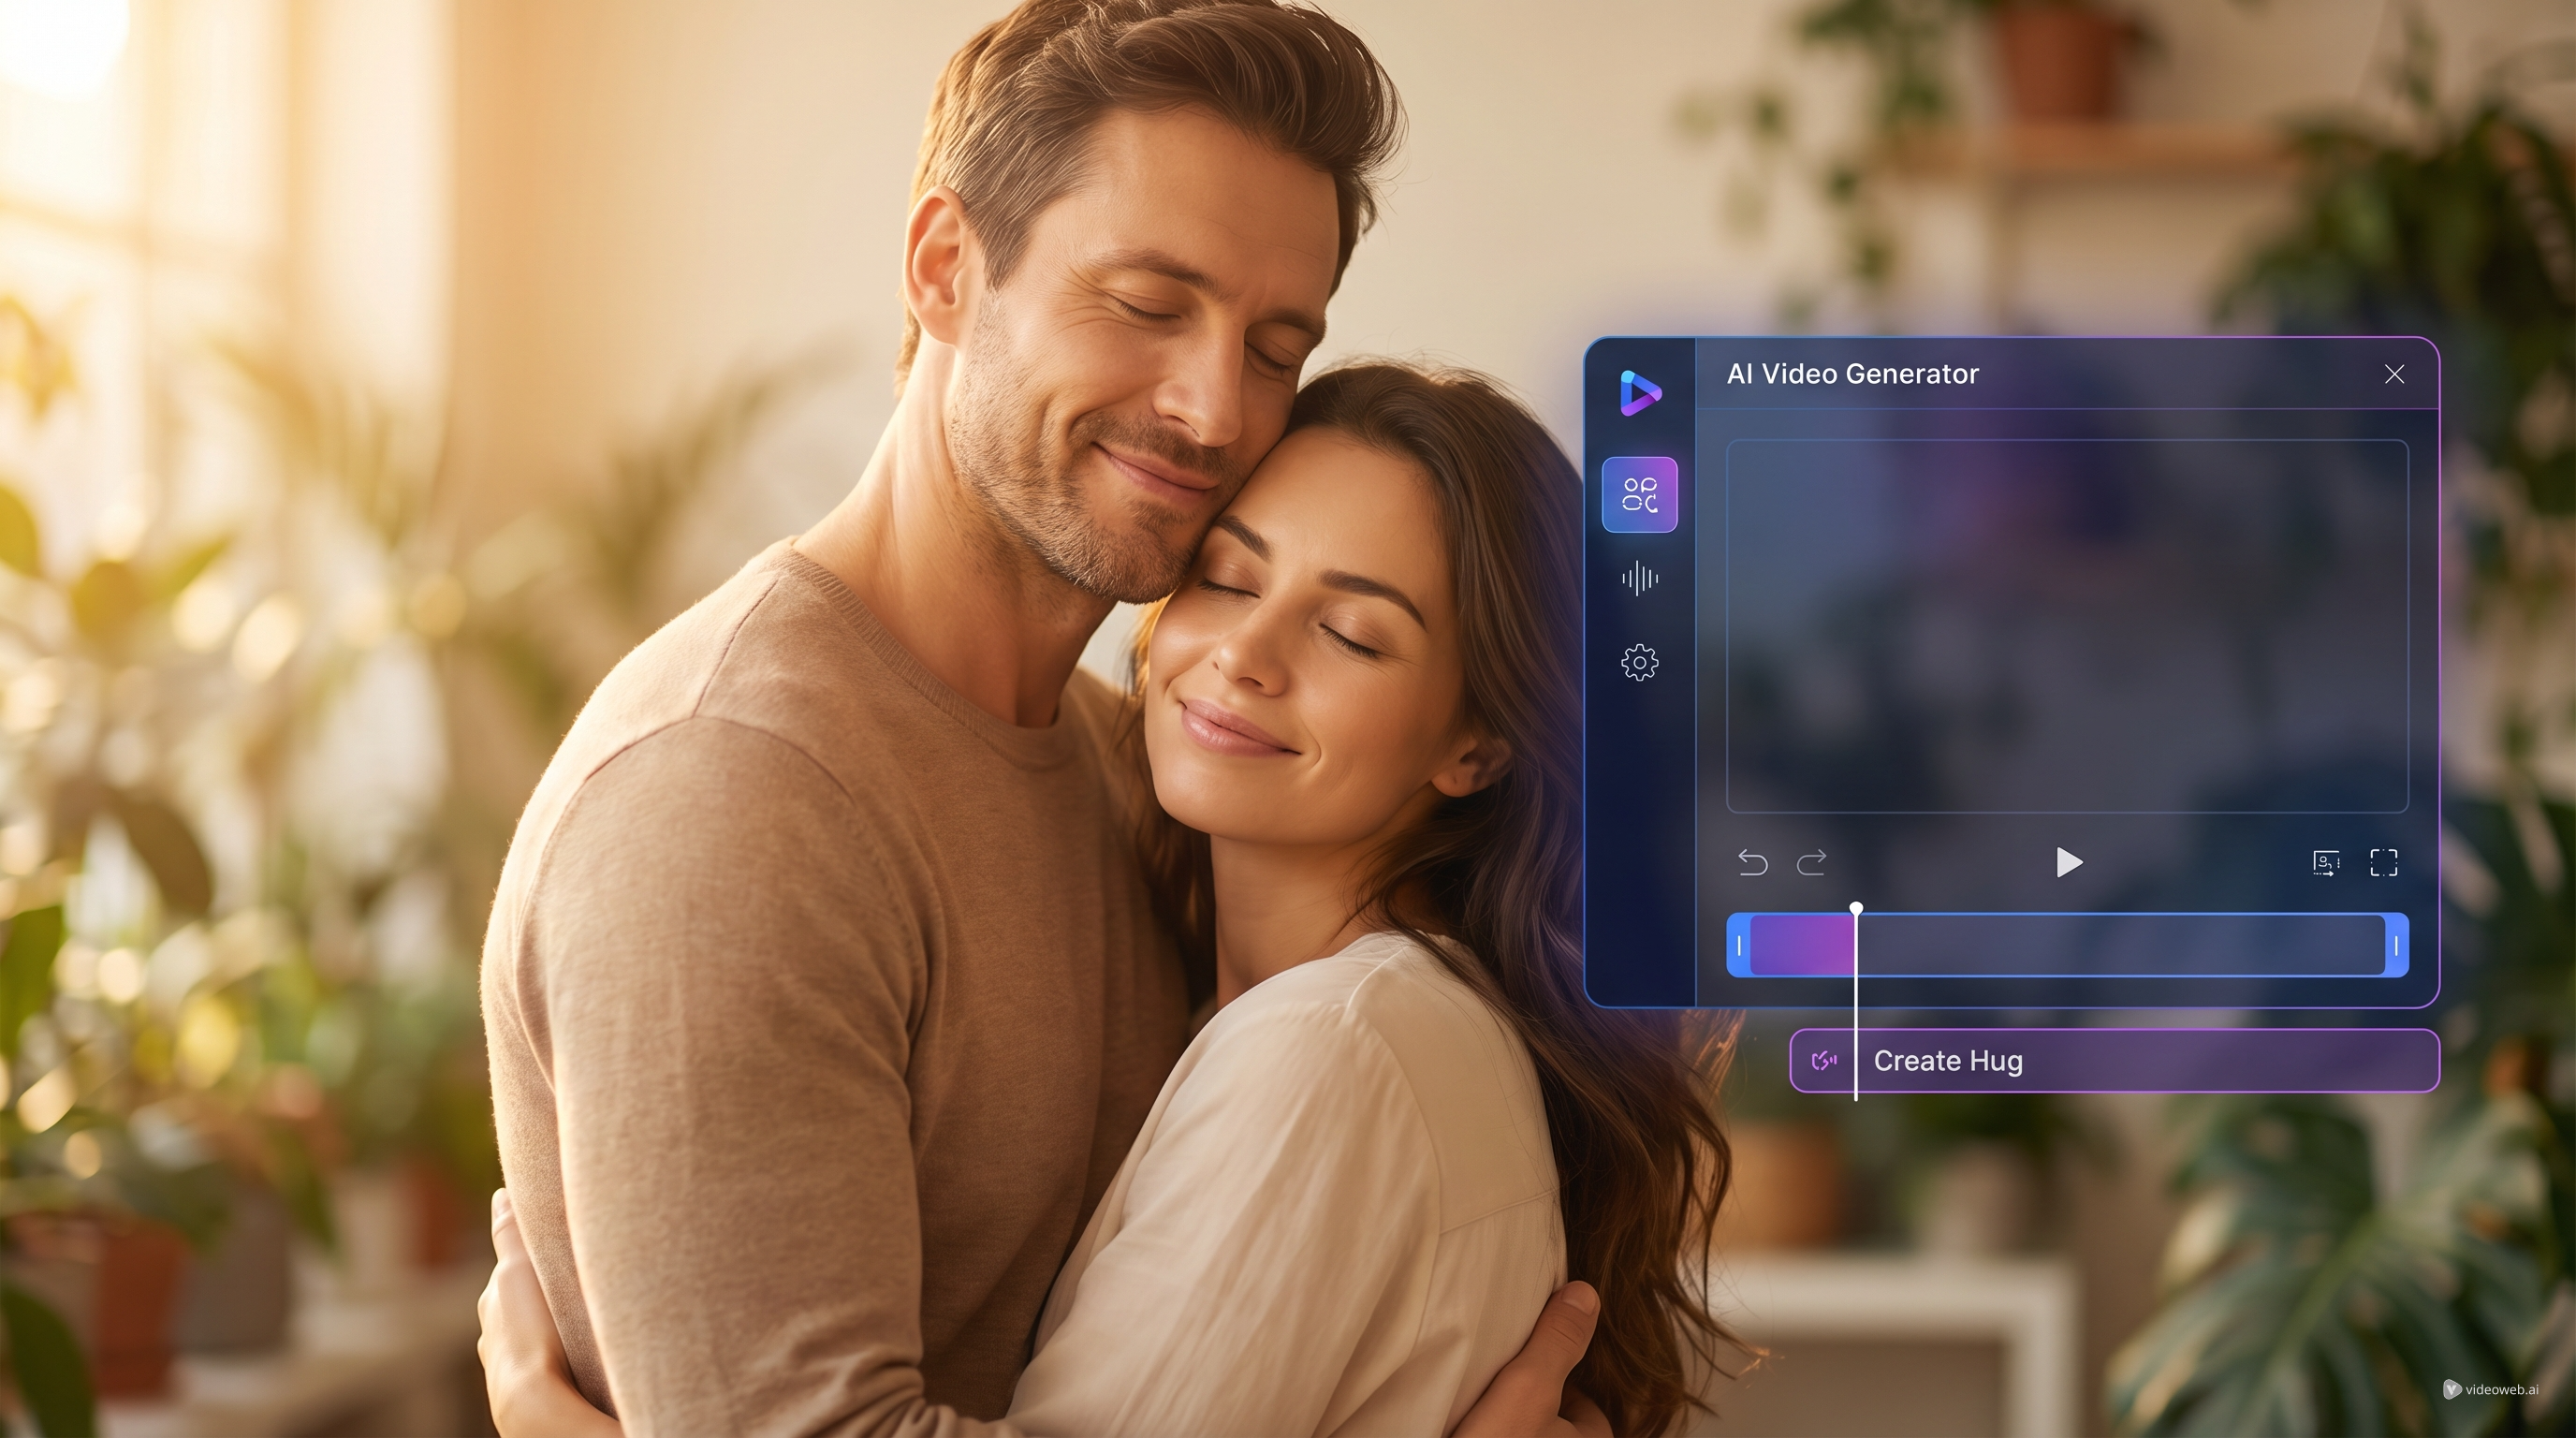
Animate the woman in the portrait with a gentle smile and subtle hair movement, soft sunlight shifting across the background, slow cinematic zoom, calm optimistic mood.
If you are trying to create an AI video generator with synchronized audio style output, describe the sound or mood in plain language. For example, write "soft ocean ambience," "upbeat pop energy," or "quiet cinematic tension." Avoid making unsupported assumptions about exact audio behavior; the safest approach is to describe the intended atmosphere and review the result after generation.

When to Use Translate and Optimize Prompt
Use Translate when your idea is clear in your own language but you want a smoother generation prompt. This is especially useful for creators who think visually but do not want to rewrite every detail in English from scratch.
Use Optimize Prompt when the prompt is too thin. For example, "a dog running in a park" can become more useful if it includes breed, motion, scene details, camera style, and mood. Optimization is not a substitute for creative judgment, but it is helpful when you know what you want and need the wording to carry more detail.
After optimization, read the result before generating. Remove anything that changes the concept, adds unwanted objects, or makes the scene harder to control. A practical Grok Imagine text-to-video and image-to-video guide should treat prompt optimization as an editing step, not a one-click guarantee.
Choosing Resolution, Duration, Ratio, and Visibility
Settings should match the final use case. Choose Resolution, Duration, and Ratio before clicking Generate so the model produces a clip closer to your publishing format.
For social clips, vertical or square ratios often make sense. For website banners, YouTube-style previews, presentations, and landscape edits, a wide ratio may be better. Duration should match the action: a blink, smile, product turn, or camera push-in can often be short; a more complex scene needs more time and a more carefully paced prompt.
Visibility matters too. Set Private when testing brand assets, client visuals, unreleased product images, or personal content. Public can make sense for general creative experiments that you are comfortable sharing.
How SeaImagine AI Tools Fit Together
Grok Imagine is the central tool for this tutorial, but many creators get better results by building a small workflow around it. Start with the tool that solves the immediate problem, then move the output into the next step.
Use AI Image Generator when you need a first frame from scratch. After that, use Image to Image if the source visual needs refinement, such as a cleaner character pose, stronger product composition, or a more consistent art style.
Use Image to Video AI when your still image is already strong and your main task is animation. This is useful for portraits, product shots, posters, thumbnails, and concept art.
Use Text to Video AI when you want to create videos from text prompts without uploading a start frame. This is the fastest path for brainstorming, social clips, and visual idea testing.
Use Grok Imagine when you want both text-to-video and image-to-video options in one model page. It is especially convenient when you want to compare a prompt-only result against a start-frame-guided result.
A Beginner Workflow Example
Here is a simple beginner AI video generator workflow you can repeat for most short video ideas.
First, create or choose a start frame. If you do not have one, generate an image of the main subject with the AI Image Generator. Then refine the image if needed so the frame is clean and visually readable.
Next, open Grok Imagine and upload the start frame. Write a motion-focused prompt such as:
The camera slowly moves closer to the glass perfume bottle as soft golden light passes across the surface, tiny dust particles in the air, elegant luxury mood, subtle ambient music feeling.
Choose the ratio based on the destination. Use vertical for a short social video, square for feed testing, or wide for a landing page preview. Set the visibility to Private if the concept is not ready to share, then click Generate.
Finally, review the result in Video History. If the motion is too strong, reduce the action language. If the scene feels flat, add camera movement, lighting, or mood details. If the subject changes too much, use a clearer start frame or simplify the prompt.
Common Mistakes to Avoid
The most common mistake is writing prompts that describe only a still image. Video prompts need verbs: walks, turns, smiles, rises, glows, drifts, zooms, pans, or reveals.
Another mistake is combining too many actions in a short clip. A five-second clip may struggle if the subject must enter the scene, change outfit, move across the frame, trigger an explosion, and end with a close-up. Pick one main action and one camera direction.
Finally, do not ignore Video History. The first result is useful feedback. Compare what you asked for against what the model produced, then revise one or two details at a time. This makes each generation more purposeful.
Recommended Reading
For more SeaImagine AI video workflow context, read these related guides:
- SeaImagine AI Text-to-Video Guide: How to Choose Models and Create Better Clips
- The 2026 Image-to-Video Guide for Sea Imagine AI: Best Models & Prompts
- How to Use Seedance 2.0 on SeaImagine AI to Make Better Short Videos
- Kling 3.0 Review: Is It the Best AI Video Generator Yet in 2026?
- ChatGPT Image 2 Release: Features, Prompts, and API Guide
People also read:
- Veo 3.1 Video Generation Guide: How to Create Cinematic Clips
- How to Use DreamMachine AI's AI Video Generator
- PixVerse 5.5 Image to Video With Sound: A Practical Creator's Guide
- How to Use the AI Music Video Generator
FAQ
How do I use Grok Imagine AI Video Model on SeaImagine AI?
Open the Grok Imagine model page, choose AI Generation or upload a Start Frame, write a clear prompt, adjust Resolution, Duration, Ratio, and visibility, then click Generate. Review the result in Video History and revise the prompt if needed.
Should I use text-to-video or image-to-video?
Use text-to-video when you only have an idea and want to create videos from text prompts. Use image-to-video when you already have a strong source image and want to animate a still image into video with more visual control.
What should I include in a Grok Imagine prompt?
Include the subject, action, scene, camera movement, and mood or audio direction. A prompt like "a woman walks through a misty forest, slow handheld camera, soft morning light, quiet mysterious mood" gives more direction than "woman in forest."
When should I use Optimize Prompt?
Use Optimize Prompt when your prompt is short, vague, or missing motion and camera details. Always review the optimized version before generating so it does not add details you do not want.
Can I keep my generated videos private?
Use the Public or Private visibility setting before generation. Private is the safer choice for drafts, client concepts, brand assets, or source images that should not be shared publicly.
Conclusion
The Grok Imagine AI Video Model is easiest to use when you treat video creation as a simple sequence: choose text or image input, write a motion-aware prompt, adjust the generation settings, and review the result in Video History. For a smoother SeaImagine AI workflow, pair Grok Imagine with AI Image Generator, Image to Image, Image to Video AI, and Text to Video AI depending on whether you need to create, refine, or animate your source material.
Start here: Grok Imagine AI Video Model.
SEO Title:
Meta Description:
Tags: , , , , SeaImagine AI
Image SEO:
hero-16x9.png: Creator workflow for using Grok Imagine AI Video Model on SeaImagine AI.section-01-image-to-video-16x9.png: Image to Video AI workflow with a start frame and video generation settings.section-02-text-to-video-16x9.png: Text to Video AI prompt guide for subject, action, scene, camera movement, and mood.