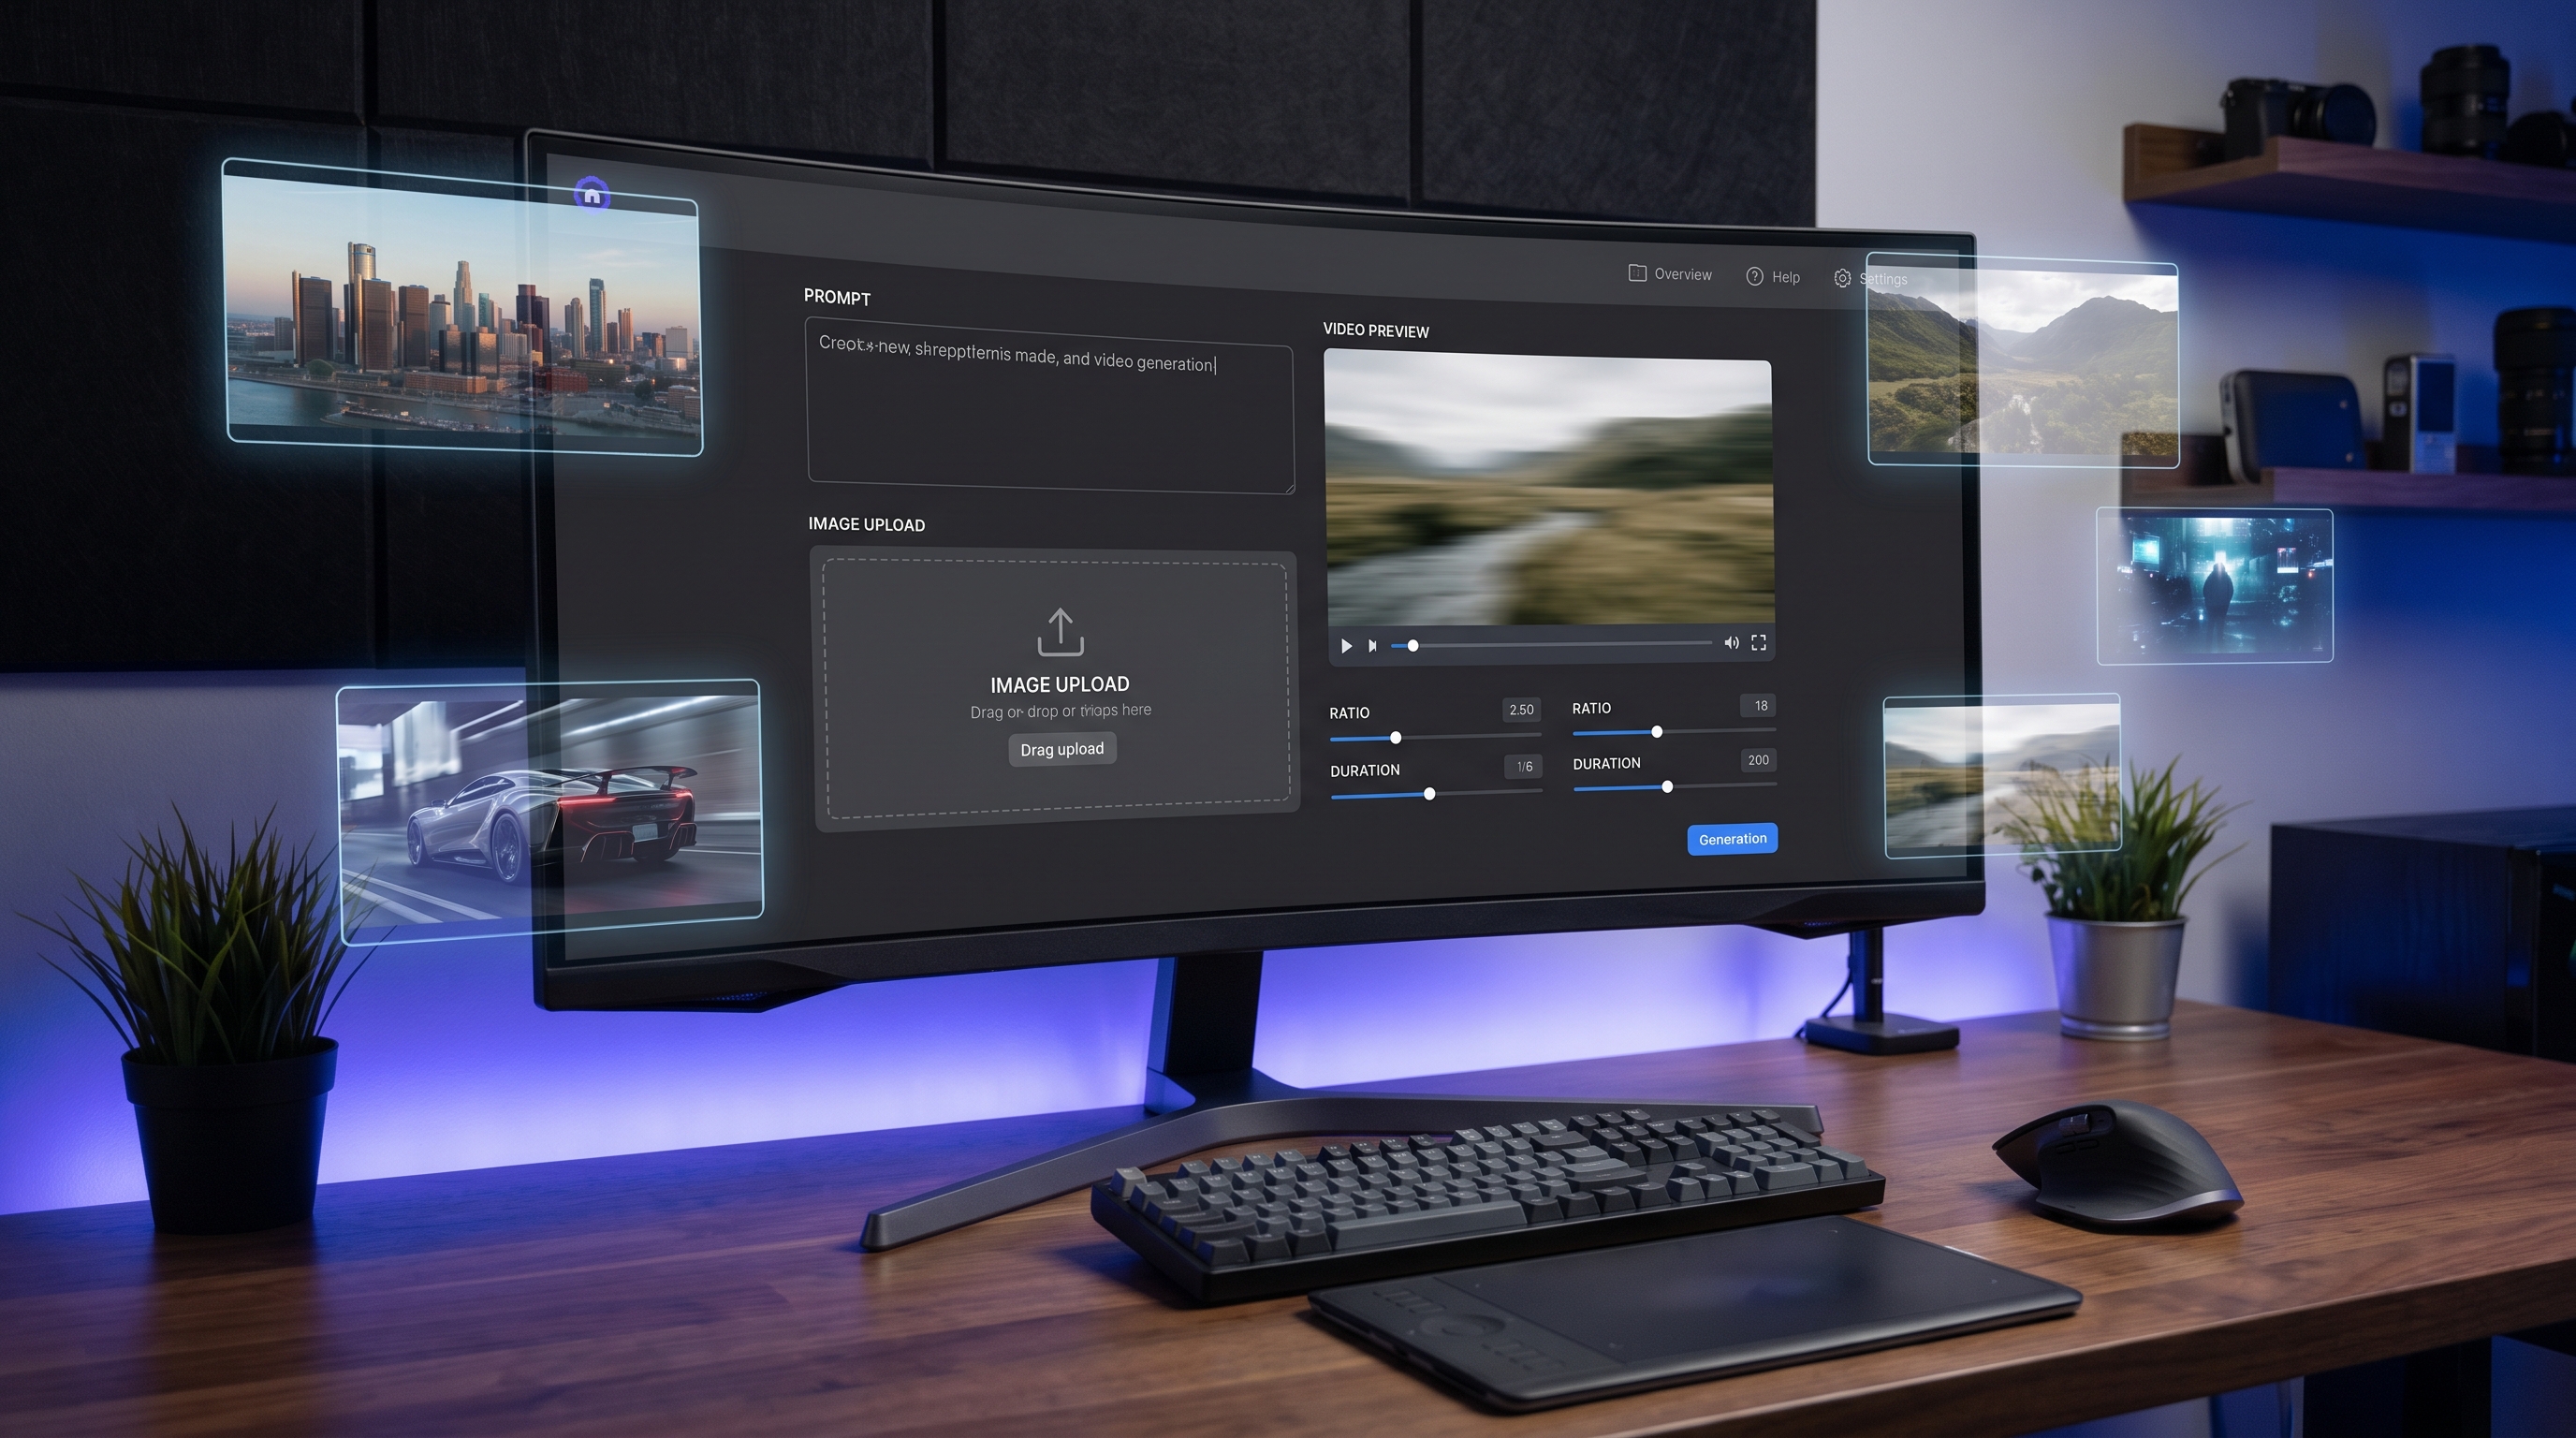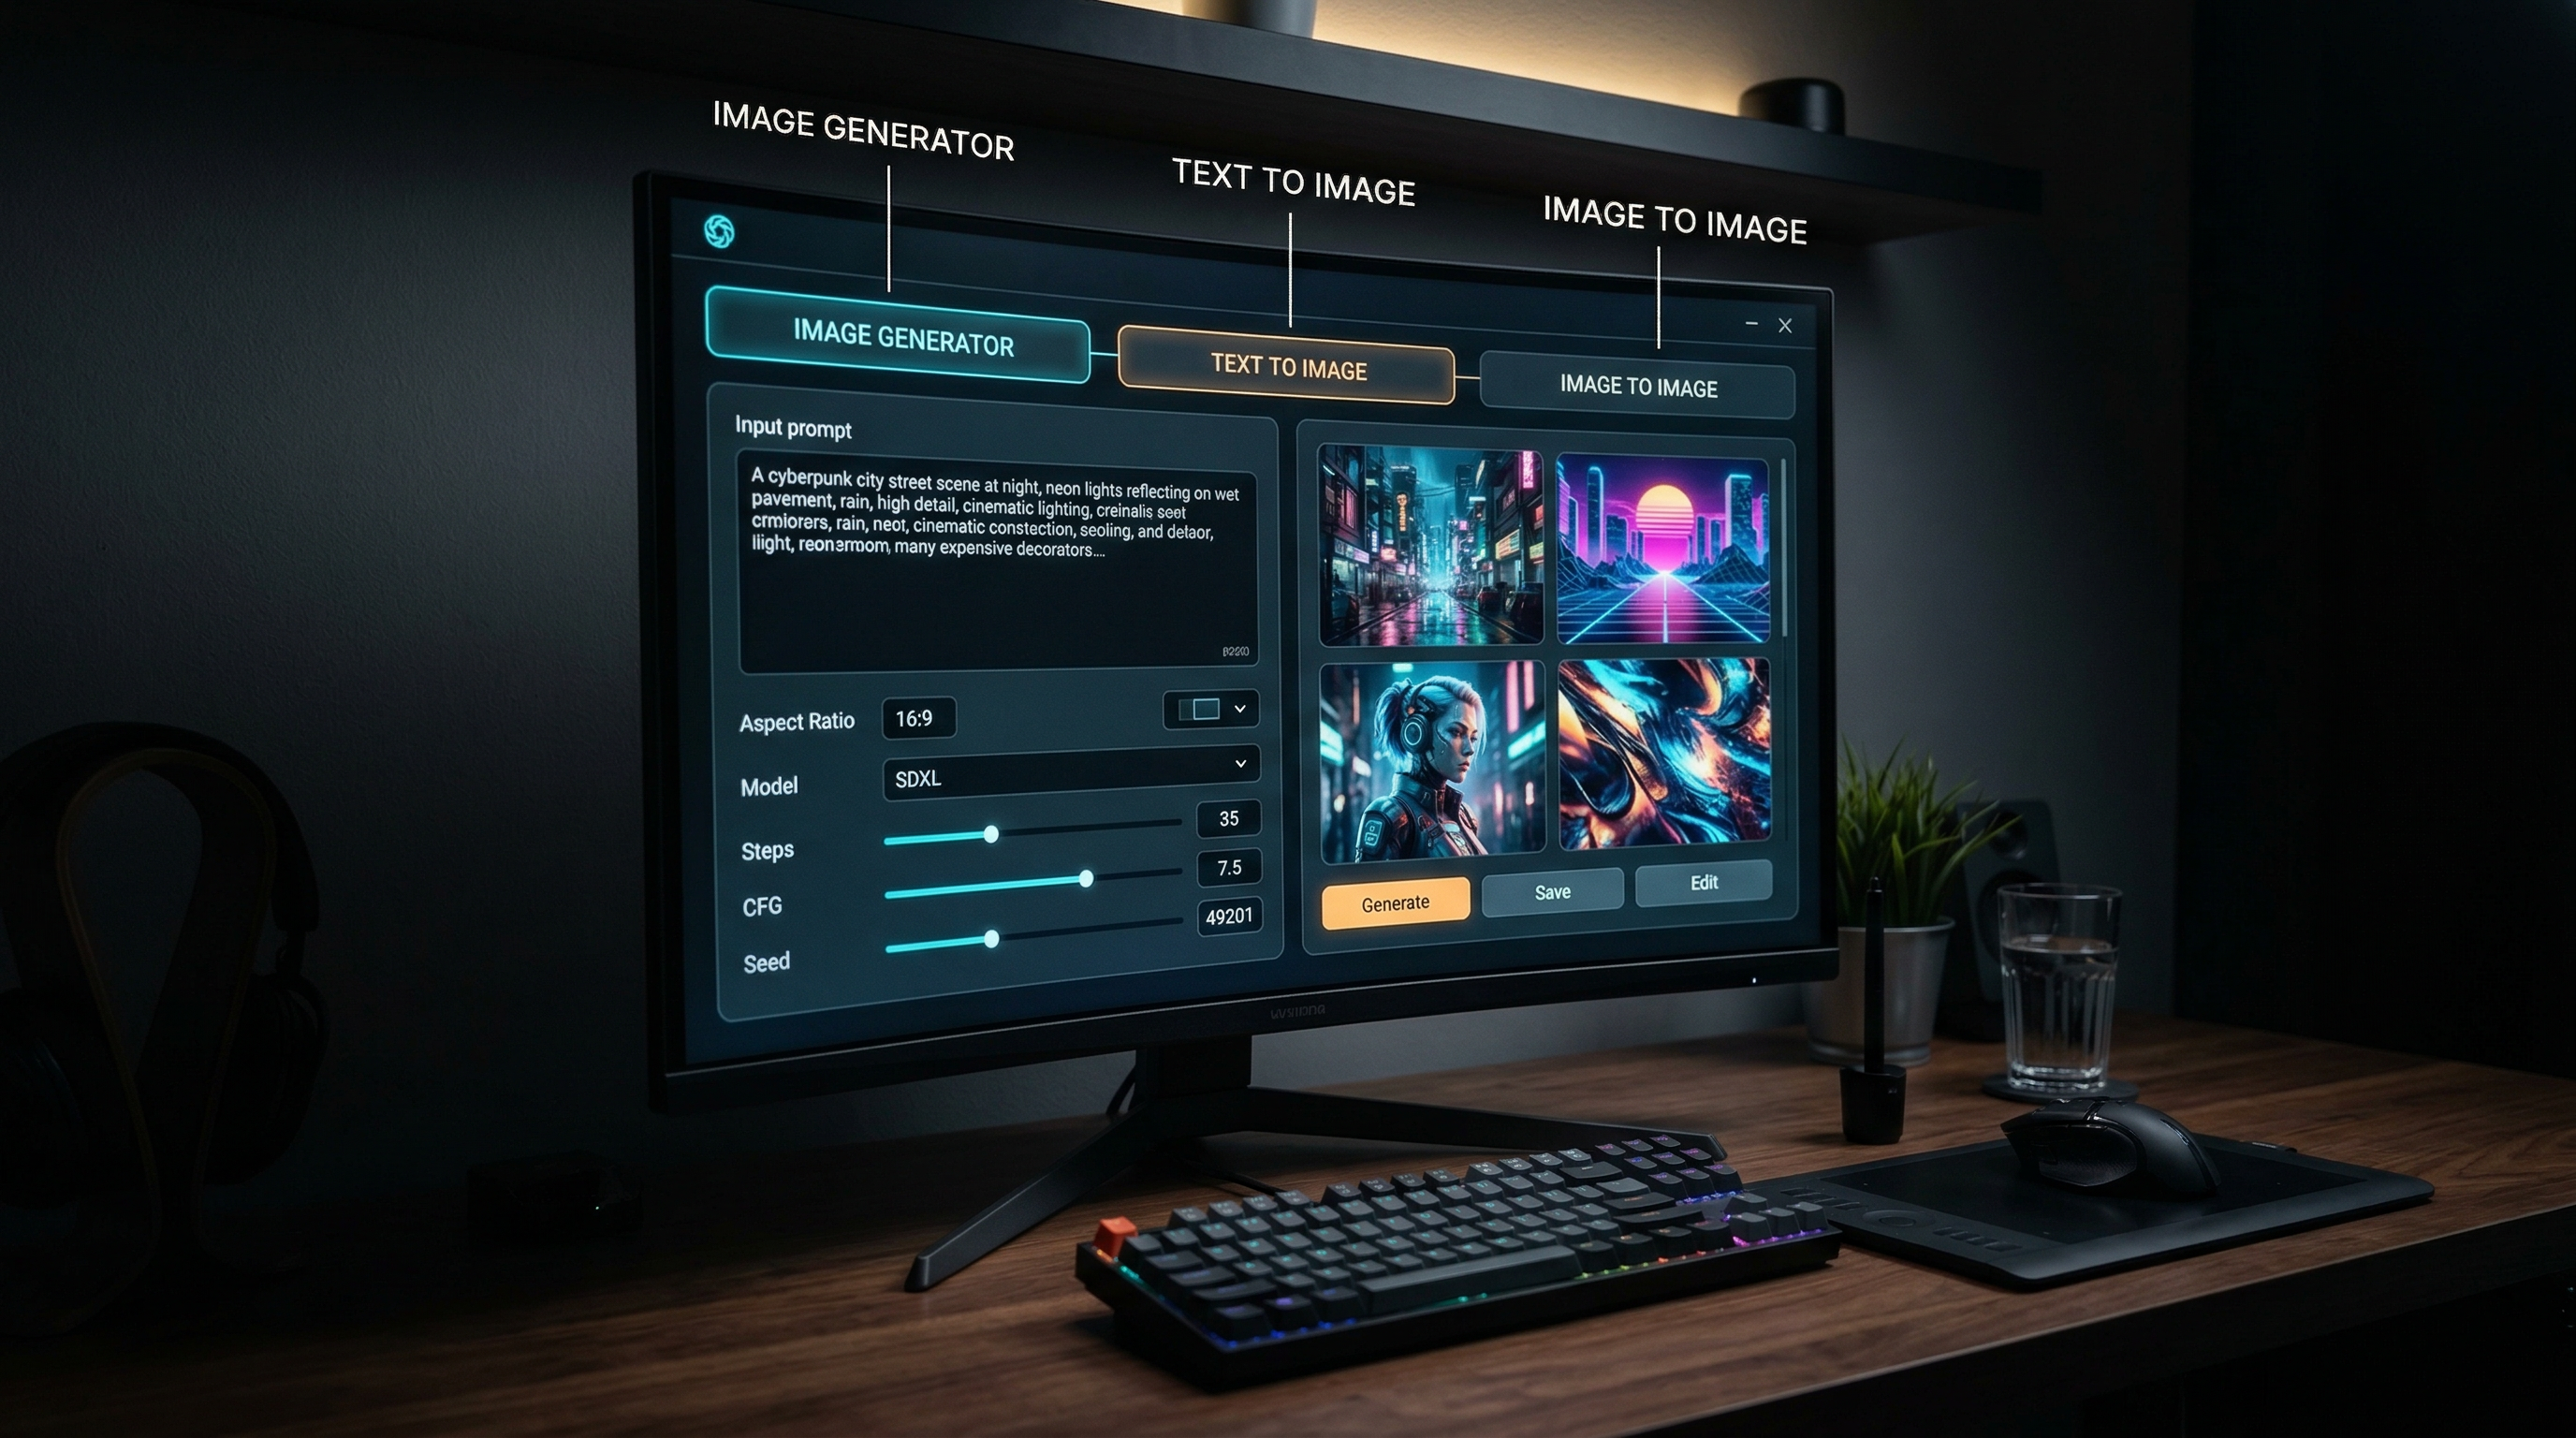
If you are opening Sea Imagine AI for the first time, the layout can look simple but slightly split across multiple paths. The good news is that the workflow is easy once you understand what each page is for. The main AI Image Generator is the flexible starting point, while Text to Image is better for creating from scratch and Image to Image is better for editing or restyling an uploaded image.
This guide walks through the full process in a practical way. You will learn where to start, what each setting does, when to switch tools, and how to get cleaner results without writing overly complicated prompts.
1. Start With the Right Tool
The easiest mistake is opening the wrong page for the job.
Use the main Sea Imagine AI image generator if you want one flexible workspace where you can type a prompt, upload a reference image, adjust ratio and resolution, and refine the result in one place.
Use Text to Image when you want the AI to create something new from your words alone. This is ideal for concept art, portraits, posters, product scenes, or style exploration.
Use Image to Image when you already have a photo, sketch, or draft and want to transform it while keeping the structure more stable.
A simple rule works well: if you have no image, start with text. If you already have an image, start with image-to-image. If you want both methods available in one workflow, start with the main generator.
2. Quick Start: The Fastest Way to Generate Your First Image
If your goal is to get a result quickly, open the AI image creator and follow this order:
- Choose a model.
- Decide whether to upload an image.
- Write a short prompt.
- Set the ratio.
- Choose the resolution.
- Generate.
Keep your first prompt simple. Do not try to control every detail at once. Start with one subject, one style, and one clear environment.
For example:
“A stylish red sports car parked on a rainy city street at night, cinematic lighting, realistic photo”
That gives the system enough direction without becoming messy. Once you see the first result, refine only the part that needs improvement.
3. Understand the Interface Before You Overwrite Your Prompt
The interface across the image pages is straightforward, but each setting matters.
The model selector changes the engine behind the result. In the screenshots, models like Nano Banana 2, Nano Banana Pro, Seedream 5.0, Seedream 4.5, and Seedream 4.0 appear as options. Different models can affect speed, detail, resolution choices, and editing behavior.
The prompt box is where you describe what you want. Keep it direct. Clear language usually works better than stuffing in dozens of adjectives.
The upload area matters when using a reference image. If you want the AI to follow the structure of an existing image, upload it instead of trying to describe every visual detail in words.
The translate toggle is useful if you want the system to process your prompt in a translated form behind the scenes.
The ratio setting changes framing. Square works well for testing. Wider formats are better for banners or landscapes. Taller formats suit posters and vertical content.
Resolution affects output detail. Test composition first, then raise resolution after the image direction looks right.
4. How to Use the Main AI Image Generator
The AI Image Generator is the best place to start if you want a hybrid workflow. It combines prompt-based generation with optional image guidance.
A simple method works well:
Start with a subject. Add a style. Add the setting. Then add one lighting cue.
For example:
“A fantasy library interior, tall glowing bookshelves, warm candlelight, detailed digital painting”
If you want more control, upload a reference image first. Then describe what should change and what should stay.
For example:
“Keep the room layout, change the style to cozy fantasy illustration, add floating lights and richer golden tones”
This is often easier than rebuilding the whole scene from zero. The main generator is useful when you want flexibility but do not want to jump between separate pages too early.
5. When Text to Image Is the Better Choice
Choose Text to Image when you want fresh ideas without being constrained by an uploaded source. This mode is ideal when you are brainstorming, sketching out visual directions, or testing several concepts quickly.
The prompt-to-image workflow is especially useful for:
- original character ideas
- poster concepts
- landscapes
- product scene mockups
- fashion styling tests
- moodboards
This tool works best when you let the AI compose more of the image. That means your prompt should guide the big choices clearly: subject, environment, mood, and style.
Do not overload the prompt with conflicting instructions. “Realistic anime watercolor cinematic minimalist maximalist” is not helpful. Choose one visual direction and build from there.
6. When Image to Image Is the Better Choice
Choose Image to Image when you want more control over structure. This is usually the smarter choice if you already have something usable and want to transform it without losing the original composition.
The image-to-image editor works especially well for:
- turning a photo into illustration
- changing backgrounds
- restyling portraits
- upgrading rough drafts
- refining product images
- adjusting colors or mood while preserving layout
For example, if you upload a product photo and prompt “luxury studio lighting, deep black background, premium advertisement style,” the result is more likely to stay faithful to the original subject placement than a pure text prompt would.
This is the better workflow when consistency matters more than surprise.
7. Pick the Right Workflow for the Job
If you are unsure which path to use, match the tool to the task.
Use the text to image tool when your idea begins as words.
Use the image-to-image workflow when your idea begins as an existing visual.
Use the main Sea Imagine AI image generator when you want both options available in one interface.
This alone will save you time. Many weak results happen not because the model is bad, but because the starting tool was not the right one.
8. A Simple Prompt Formula That Usually Works
Use this structure:
Subject + setting + style + lighting + quality cue
Examples:
- “A white cat sitting on a windowsill, rainy afternoon, soft watercolor illustration, muted natural light, clean composition”
- “A futuristic sneaker on a reflective platform, premium product photography, studio spotlight, sharp details”
- “A medieval village street at dawn, cinematic fantasy concept art, warm sunlight, highly detailed”
This formula keeps prompts readable and focused. It also makes troubleshooting easier, because you can edit one part at a time.
9. Ready-to-Use Prompts
Use these directly, then tweak the subject, color, or style only if needed.
Realistic Portrait
“Close-up portrait of a young woman, soft window light, natural skin texture, shallow depth of field, realistic photography”
Anime Character
“A confident anime hero standing on a rooftop at sunset, dynamic pose, vivid colors, clean line art, dramatic sky”
Product Ad
“A luxury perfume bottle on black reflective glass, elegant studio lighting, premium advertisement style, sharp focus”
Fantasy Landscape
“A floating castle above the clouds, golden sunrise, epic fantasy concept art, atmospheric lighting, detailed environment”
Cozy Interior
“A cozy reading corner with books, blankets, and warm lamplight, soft illustration, inviting atmosphere, detailed textures”
Food Photography
“A bowl of ramen on a wooden table, rising steam, restaurant-style food photography, warm lighting, crisp details”
Fashion Editorial
“A high-fashion model walking through a futuristic hallway, editorial photography, sleek lighting, cinematic composition”
Image Restyle Prompt
“Keep the original composition, turn it into a hand-painted fantasy illustration, richer colors, softer light, detailed brushwork”
Background Change Prompt
“Keep the subject unchanged, replace the background with a neon-lit cyberpunk street at night, cinematic glow, realistic detail”
Poster Upgrade Prompt
“Preserve layout, improve contrast, sharper typography area, premium poster design, bold cinematic color grading”
10. Common Mistakes and How to Fix Them
If results feel random, the prompt is often too crowded. Reduce it to one subject, one style, and one environment.
If the subject changes too much, use a reference image and move to the image-to-image workflow.
If the composition feels wrong, change the ratio before rewriting the full prompt.
If details look weak, keep the same prompt and raise resolution only after the composition works.
If the image feels close but not right, rewrite only one sentence instead of starting over.
11. A Better Routine for Repeatable Results
A simple working routine looks like this:
Start with Text to Image to explore ideas quickly.
Once you find a direction you like, move to Image to Image if you need tighter control.
Use the main AI Image Generator when you want to combine prompt freedom with reference guidance.
Keep your first draft simple, compare small changes, and do not switch prompt, model, ratio, and resolution all at once. Controlled iteration is what makes the workflow feel reliable.
12. Final Thoughts
Sea Imagine AI becomes much easier to use once you stop thinking of its pages as separate products and start seeing them as connected paths. The Sea Imagine AI image generator gives you flexibility, Text to Image is the cleanest way to create from scratch, and Image to Image is the better option when you already have a visual starting point.
The best results usually come from choosing the right tool first, writing a clear prompt, and refining in small steps instead of chasing perfection in one attempt.